
The aroma of warm caramel wafting through the kitchen brings back a flood of joyous memories—family gatherings, cozy moments, and indulgent treats shared with loved ones. If you’ve ever craved that nostalgic feeling, you’ll adore these Homemade Vanilla Cream Caramels. Not only do they boast a creamy vanilla center that complements the perfectly soft and chewy caramel exterior, but they also make for a wonderful gift or festive party favor. Best of all, this recipe simplifies candy-making into an enjoyable experience, allowing even novice cooks to shine! With just a few basic ingredients and an easy process, you can create these delightful bites that are sure to impress. Ready to learn how to make your own dreamy batch? Let’s dive in!
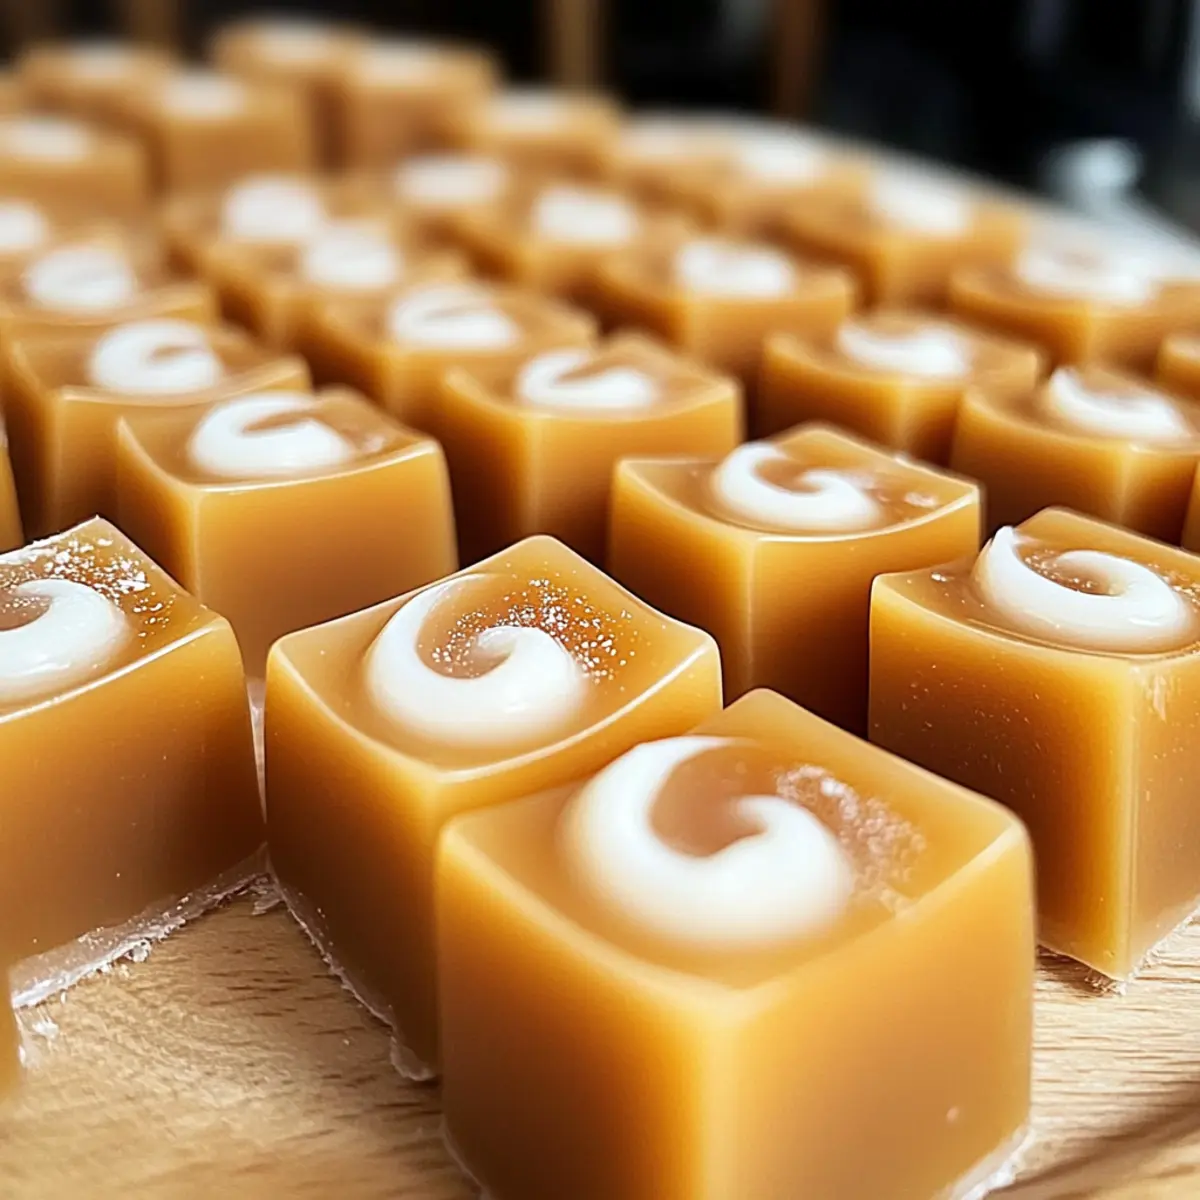
Why Make Homemade Vanilla Cream Caramels?
Irresistible Taste: The combination of creamy vanilla and rich caramel creates a flavor sensation that’s simply heavenly.
Easy to Make: With simple ingredients and straightforward steps, anyone can whip up a batch, turning novice cooks into candy-making champions.
Perfect for Gifting: These delightful treats are beautifully wrapped and make excellent gifts for friends and family, sure to elicit smiles.
Versatile Flavors: Feel free to get creative! You can customize them by adding nuts or experimenting with different extracts for a unique twist.
Comforting Nostalgia: The warm aroma that fills your kitchen while they cook will evoke cherished memories of indulgence and gatherings.
Pair these with a scoop of ice cream for a delightful dessert, or enjoy alongside Salad Bacon Cheese for a balanced treat experience!
Vanilla Cream Caramel Ingredients
For the Caramel
• Unsalted Butter – Provides richness and flavor; substitute with salted butter, reducing added salt.
• Brown Sugar – Adds sweetness and contributes to the caramel’s rich color; can use light or dark brown sugar based on preference.
• Salt – Enhances flavor; optional if using salted butter.
• Evaporated Milk – Contributes creaminess to the caramel; substitute with condensed milk for a different texture.
• Heavy Cream – Adds a velvety quality; can replace with more evaporated milk, although the flavor will differ.
• Corn Syrup – Prevents crystallization, ensuring a smooth caramel; light or dark corn syrup is suitable.
For the Vanilla Cream
• Powdered Sugar – Forms the base of the vanilla cream; no substitutions recommended.
• Vegetable Shortening – Helps achieve a creamy consistency; replace with unsalted butter for a different flavor profile.
• Corn Syrup (for Vanilla Cream) – Similar role as above; maintain to ensure right texture.
• Vanilla Extract – Infuses flavor; can substitute with almond or hazelnut extract for variation.
With these ingredients in hand, you’re just a step away from creating your own delightful Vanilla Cream Caramels! Enjoy this homemade treat that brings joy in every bite.
Step‑by‑Step Instructions for Vanilla Cream Caramels
Step 1: Prepare Work Surface
Begin by laying out a large piece of parchment paper, suitable for creating a 10 x 16 inch rectangle. This will be critical for pouring the cooked caramel later. Ensure it’s smooth and wrinkle-free to easily lift the caramels once they set. Gather your equipment, including a saucepan and a candy thermometer, for a successful outcome.
Step 2: Make Caramel
In a medium saucepan, combine unsalted butter, brown sugar, salt, evaporated milk, heavy cream, and corn syrup. Cook over medium heat, stirring continuously until the mixture reaches a temperature of 241°F on the candy thermometer; this typically takes about 10–15 minutes. The caramel should be bubbling gently and appear thickened. Once at temperature, promptly pour the mixture onto the prepared parchment paper to cool.
Step 3: Prepare Vanilla Cream
While the caramel cools, prepare the vanilla cream by mixing powdered sugar, vegetable shortening, corn syrup, and vanilla extract in a mixing bowl. Beat the ingredients until creamy and smooth, taking care not to overwork the mixture, which can lead to a tough texture. It should be pliable and soft, allowing for easy spreading on the cooled caramel later.
Step 4: Assemble Caramels
Once the caramel has cooled and is firm to the touch, carefully spread the prepared vanilla cream mixture evenly over the caramel layer. Use a spatula to ensure an even coat, and allow it to set at room temperature. This process usually takes about 1 hour, during which the vanilla cream will adhere to the caramel, creating a luscious filling.
Step 5: Cut and Wrap Caramels
After the vanilla cream has set, use a sharp knife to cut the caramel slab into uniform pieces, around 1 inch squared for perfect bites. Once cut, you can wrap each piece in wax paper to maintain freshness and prevent sticking. Place them in an airtight container, and your homemade Vanilla Cream Caramels are ready for gifting or enjoying!
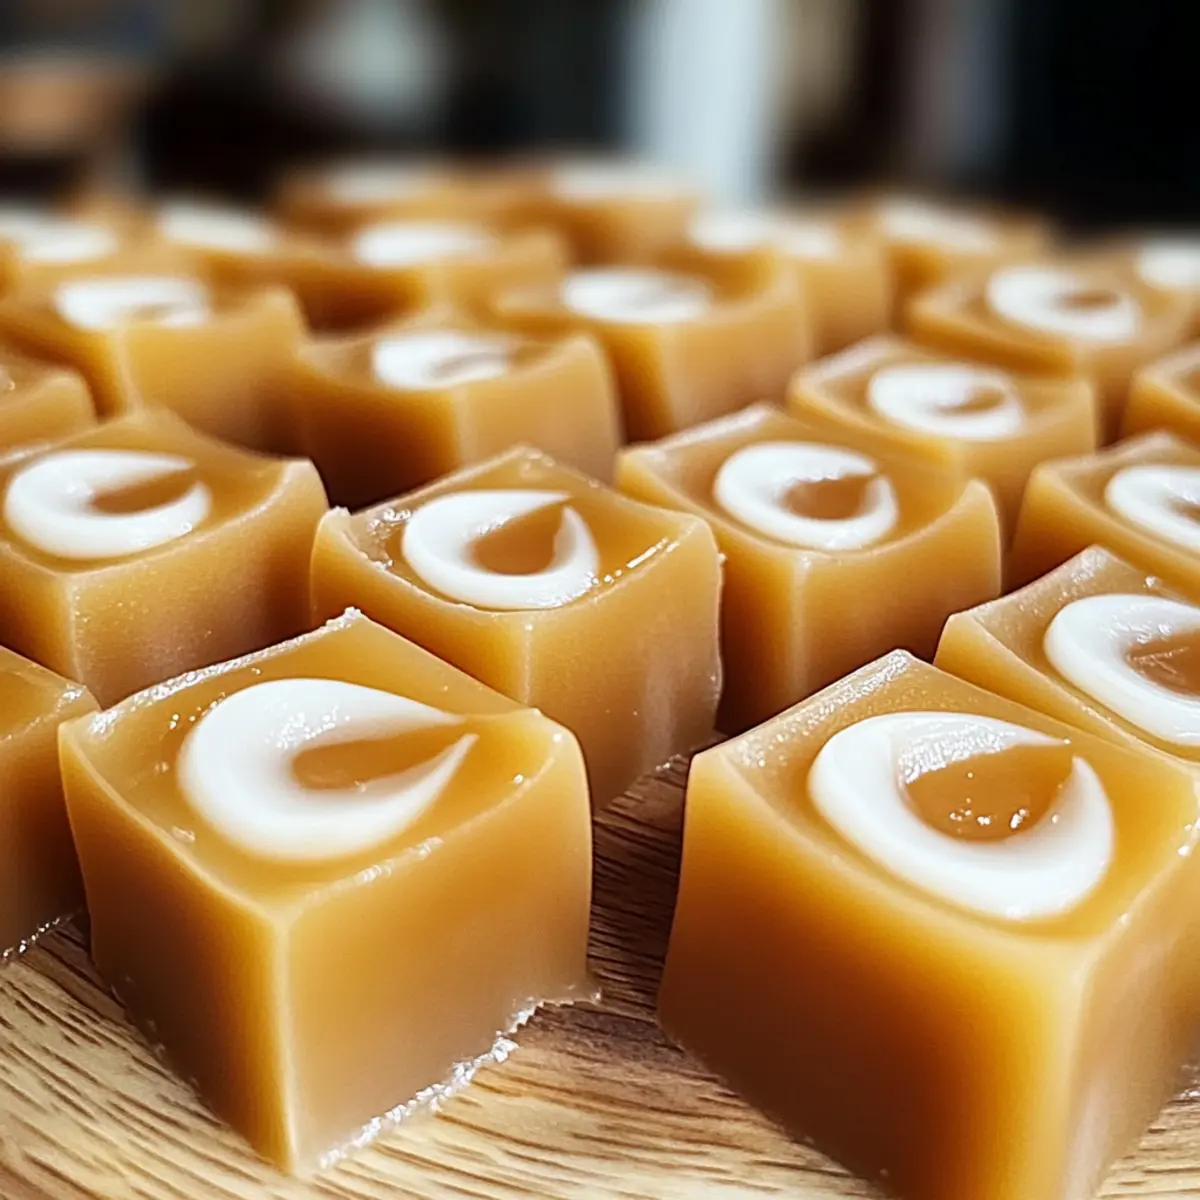
How to Store and Freeze Vanilla Cream Caramels
Airtight Container: Store your Vanilla Cream Caramels in an airtight container at room temperature for up to 2 weeks. This keeps them soft and fresh for snacking.
Refrigeration: If you prefer a cooler treat, store the caramels in the fridge where they can last up to 3 weeks. Just ensure they are wrapped well to prevent them from drying out.
Freezing: For longer storage, individually wrap the caramels in wax paper and place them in a freezer-safe bag or container. They will stay fresh for up to 3 months in the freezer.
Reheating: To enjoy a softened caramel after freezing, let them sit at room temperature for about 15 minutes before unwrapping and savoring the delightful flavor.
Expert Tips for Vanilla Cream Caramels
• Use a Candy Thermometer: Ensure precise temperature control at 241°F for the perfect caramel consistency. Too low and it won’t set; too high and it’ll become hard.
• Stir, Stir, Stir: Continuously stir the caramel mixture while it heats. This helps prevent burning and ensures even cooking for smooth Vanilla Cream Caramels.
• Cool Completely First: Let the caramel cool completely before spreading the vanilla cream. This step guarantees better adhesion and prevents the cream from melting into the caramel.
• Avoid Overworking: When preparing the vanilla cream, mix gently to keep it soft and pliable. Overworking can make it tough, altering the desired creamy texture.
• Use High-Quality Vanilla: For the best flavor in your Vanilla Cream Caramels, opt for genuine vanilla extract or paste. This adds depth and enhances overall taste.
Vanilla Cream Caramels Variations & Substitutions
Feel free to explore these delightful variations and make this recipe your own! Each twist adds a unique dimension to these sweet little bites.
-
Nutty Caramels: Stir in chopped pecans or walnuts for added crunch and flavor. This gives a lovely texture, making each bite more satisfying.
-
Spiced Treats: Incorporate a pinch of cinnamon or nutmeg into the caramel for a warm, cozy flavor twist. The spices will bring a comforting aroma that feels like a warm hug.
-
Chocolate Drizzle: Melt semi-sweet or dark chocolate and drizzle over the finished caramels for an indulgent treat. This extra layer will elevate the caramels into a luxurious dessert experience.
-
Fruity Twist: Add a splash of orange or lemon zest to the caramel for a refreshing citrus note. This brightens the flavor profile, making it even more irresistible.
-
Different Extracts: Replace vanilla extract with almond or hazelnut extract for a unique flavor twist. Each extract brings its own personality, adding a new dimension to the creamy filling.
-
Salted Caramel: Sprinkle sea salt over the top before the caramel sets for those who enjoy a sweet and salty combination. It balances the sweetness beautifully, creating an addictive flavor contrast.
-
Caramel Coffee Infusion: Add a shot of espresso to the caramel for a delightful mocha flavor experience. A coffee twist is perfect for caffeine lovers!
For more ways to enjoy delicious homemade flavors, consider pairing these with a satisfying Salad Bacon Cheese or indulge your sweet tooth with a comforting bowl of Corn Pasta Salad.
What to Serve with Homemade Vanilla Cream Caramels
Dive into a delightful culinary experience that’ll elevate your homemade treat into a full celebration feast.
- Fresh Berries: The tartness of strawberries or raspberries cuts through the sweetness, providing a refreshing contrast that balances each bite.
- Cheese Platter: A selection of mild cheeses, like brie or gouda, complements the rich flavors of the caramels and adds a delightful textural contrast.
- Vanilla Ice Cream: Serve the caramels over a scoop of creamy vanilla ice cream for a truly decadent dessert experience that feels ultra-luxurious.
- Espresso or Coffee: The bold, deep flavors of a freshly brewed espresso enhance the caramel’s sweetness, making for a perfect pairing at any time of day.
- Chocolate Dipping Sauce: For an indulgent twist, drizzle melted dark or milk chocolate over the caramels to create a rich and delightful flavor fusion.
- Nuts: Chopped pecans or almonds sprinkled atop the caramels add a delightful crunch, enhancing texture and flavor with each indulgent bite.
- Sweet Wine or Dessert Liquor: Pair with a glass of dessert wine, like Riesling, or a smooth liquor for an adult treat that harmonizes beautifully with the caramel’s sweetness.
- Spiced Hot Cocoa: A steaming cup of hot cocoa with a hint of cinnamon will evoke cozy feelings while beautifully complementing the caramels’ flavors.
Make Ahead Options
These Homemade Vanilla Cream Caramels are a fantastic option for busy cooks looking to streamline their dessert preparation! You can make the caramel and the vanilla cream up to 24 hours in advance. Simply follow the initial instructions to prepare both components, then allow the caramel to cool completely before spreading the vanilla cream. Once assembled, let the caramels set at room temperature, and they can be cut and wrapped for storage. To maintain their creamy texture and prevent sticking, store the wrapped caramels in an airtight container in the refrigerator. When you’re ready to enjoy, simply serve them chilled or at room temperature, and they’ll be just as delicious!
Vanilla Cream Caramels Recipe FAQs
What is the best way to choose ripe ingredients for homemade Vanilla Cream Caramels?
Absolutely! When making Vanilla Cream Caramels, the freshness of your ingredients can significantly impact the flavor. Ideally, use unsalted butter that’s creamy and pale in color, brown sugar that’s moist and free of hard lumps, and heavy cream that’s fresh, with no signs of separation. Always check expiration dates on evaporated milk and vanilla extract to ensure optimal taste.
How should I store my Vanilla Cream Caramels for optimal freshness?
To keep your caramels fresh and delicious, store them in an airtight container at room temperature for up to 2 weeks. If you prefer a cooler treat during warm months, they can be stored in the refrigerator for up to 3 weeks; just make sure they’re wrapped properly to avoid drying out!
Can I freeze my Vanilla Cream Caramels? If so, how?
Yes, you can definitely freeze them! For best results, individually wrap each caramel piece in wax paper and place them in a freezer-safe bag or container. They will maintain their quality for up to 3 months. To enjoy, simply take them out and let them sit at room temperature for about 15 minutes before unwrapping.
What if my caramel mixture didn’t reach the right temperature?
Very importantly, achieving the correct temperature of 241°F is crucial for the desired texture; that makes or breaks your caramels! If your caramel didn’t reach this temperature, and ends up either soft or hard, you can salvage it. For a too-soft caramel, return the mixture to the saucepan, heat gently while stirring, and take it up to 241°F again. For hardened caramel, you can try melting it down with a splash of water over low heat until it’s workable again.
Are there any dietary considerations I need to be aware of when making Vanilla Cream Caramels?
Definitely! When preparing Vanilla Cream Caramels, keep in mind any allergies. The recipe includes dairy (butter, cream, and evaporated milk), so it’s not suitable for those with lactose intolerance. For nut allergies, if you decide to incorporate nuts as a variation, ensure they are toasted and finely chopped to avoid any reactions. Always communicate with any recipient of your gift to ensure it’s enjoyed safely!
Can pets safely eat Vanilla Cream Caramels?
No, it’s best to keep these heavenly treats away from pets. Ingredients like sugar, butter, and corn syrup can upset their digestive systems, and some, like chocolate, are toxic to dogs. Always stick to pet-friendly treats to keep them happy and healthy!
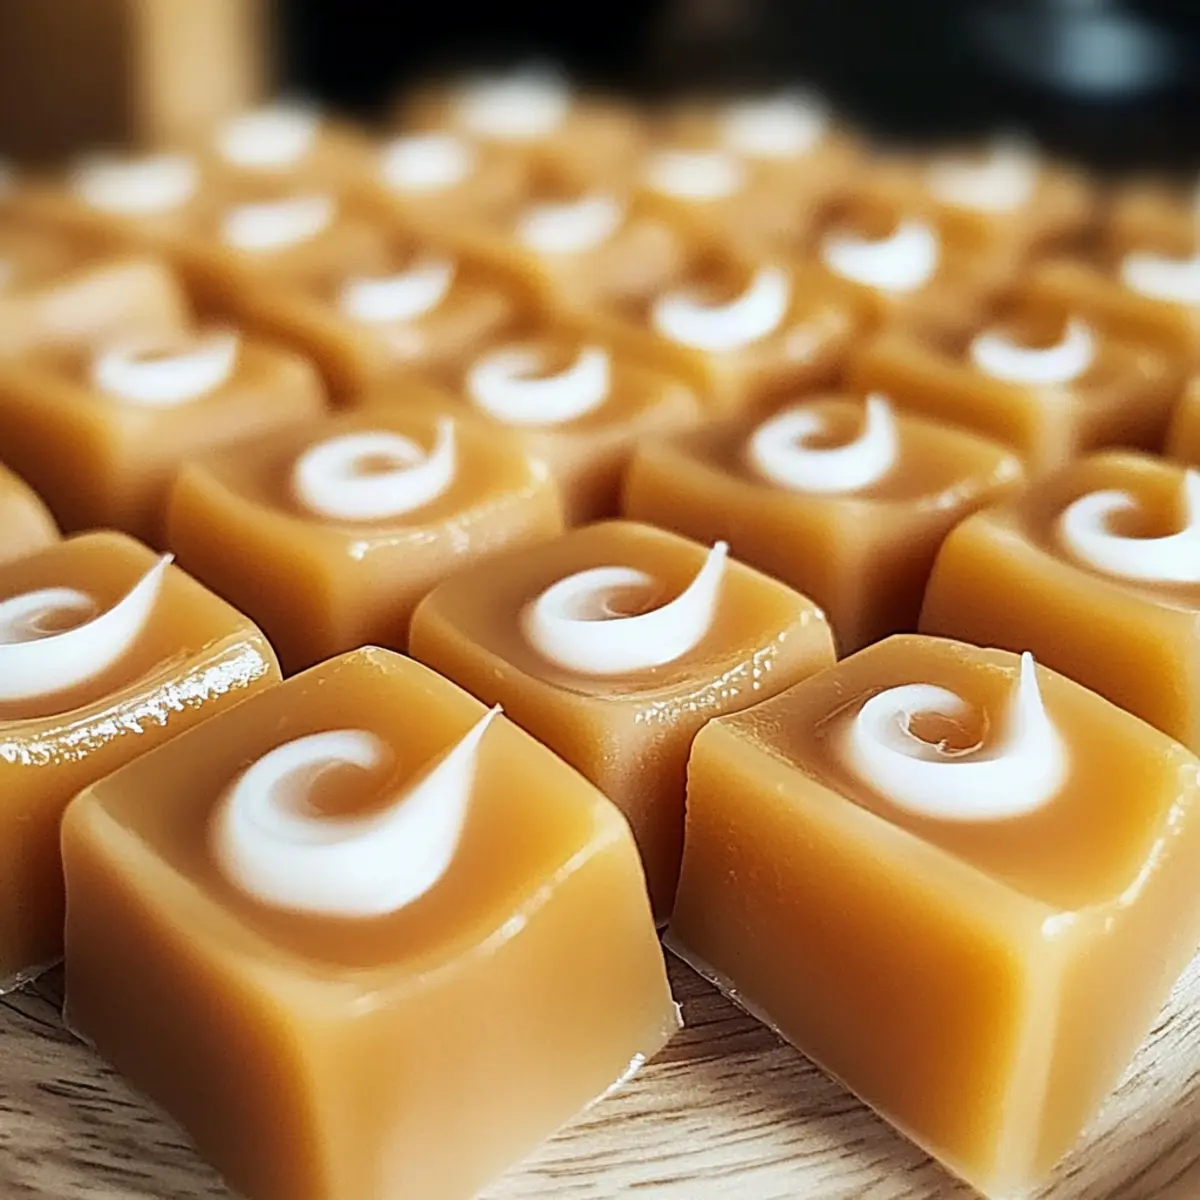
Irresistible Vanilla Cream Caramels: A Sweet Homemade Delight
Ingredients
Equipment
Method
- Prepare Work Surface: Lay out a large piece of parchment paper for creating a 10 x 16 inch rectangle. Ensure it’s smooth for easy lifting of the caramels once set. Gather your equipment.
- Make Caramel: Combine unsalted butter, brown sugar, salt, evaporated milk, heavy cream, and corn syrup in a medium saucepan. Cook over medium heat, stirring continuously until the mixture reaches 241°F. This takes about 10–15 minutes. Once at temperature, pour onto the prepared parchment paper to cool.
- Prepare Vanilla Cream: While the caramel cools, mix powdered sugar, vegetable shortening, corn syrup, and vanilla extract in a mixing bowl. Beat until creamy and smooth, being careful not to overwork the mixture.
- Assemble Caramels: Once the caramel has cooled and is firm, spread the vanilla cream mixture evenly over the caramel layer. Use a spatula for an even coat, and let it set at room temperature for about 1 hour.
- Cut and Wrap Caramels: After the vanilla cream has set, cut the caramel slab into 1 inch squares and wrap each piece in wax paper. Store in an airtight container.
Leave a Reply