
As I stood there, watching the dough come together, I couldn’t help but smile at the nostalgia wafting through my kitchen—these Ultimate Vegan Chocolate Chip Cookies are like a warm hug from home. If you’re anything like me, then you crave a sweet treat that balances health and happiness, and these cookies do just that. Made with wholesome plant-based ingredients, they offer a quick baking solution for those busy evenings when you need a guilt-free indulgence. With their soft and chewy texture paired with melted chocolate chips, they’re bound to impress even the biggest chocolate lovers. Plus, these cookies are freezer-friendly—perfect for keeping those late-night cravings at bay! Ready to create a batch that feels as good as it tastes? Grab your mixing bowls, and let’s dive in!
Why Are These Cookies So Irresistible?
Soft, Chewy Texture: The ultimate cookie experience, combining tenderness with a delightful chew that keeps you coming back for more.
Guilt-Free Indulgence: Made with wholesome, plant-based ingredients, these cookies allow you to enjoy dessert without compromising your values.
Quick to Bake: Perfect for busy schedules, you can whip up a fresh batch in under 30 minutes!
Versatile and Fun: Mix in your favorite ingredients, like nuts or dried fruit, for a personalized twist—take inspiration from other recipes like Cucumber Salad Bacon or Street Corn Pasta.
Crowd-Pleasing Appeal: Whether at a casual gathering or a special occasion, these cookies will be a hit with everyone, even non-vegans.
Ultimate Vegan Chocolate Chip Cookie Ingredients
For the Cookie Base
- All-Purpose Flour – Provides structure and texture; consider using whole wheat flour for a nuttier flavor.
- Baking Soda – Helps the cookies rise and stay fluffy; always check the expiration date for best results.
- Salt – Enhances flavor; it’s essential in dessert recipes to balance sweetness.
For Sweetness
- Brown Sugar – Adds moisture and a deep caramel flavor; can substitute with coconut sugar for a healthier option.
- Granulated Sugar – Balances the sweetness and keeps the edges crisp; use organic sugar for an even better quality.
For Moisture and Richness
- Oil (Coconut or Canola) – Acts as a binding agent and adds richness; coconut oil lends a lovely flavor, while canola is neutral.
- Non-Dairy Milk – Adds moisture to the dough; almond or soy milk work great, while oat milk provides extra creaminess.
- Vanilla Extract – Enhances flavor depth; use high-quality extract for the best aroma.
For the Chocolatey Goodness
- Vegan Chocolate Chips – Provide that classic chocolatey element; try dark chocolate chips for a richer taste.
These Vegan Chocolate Chip Cookies are not just a treat; they’re a delightful experience that is sure to brighten your day!
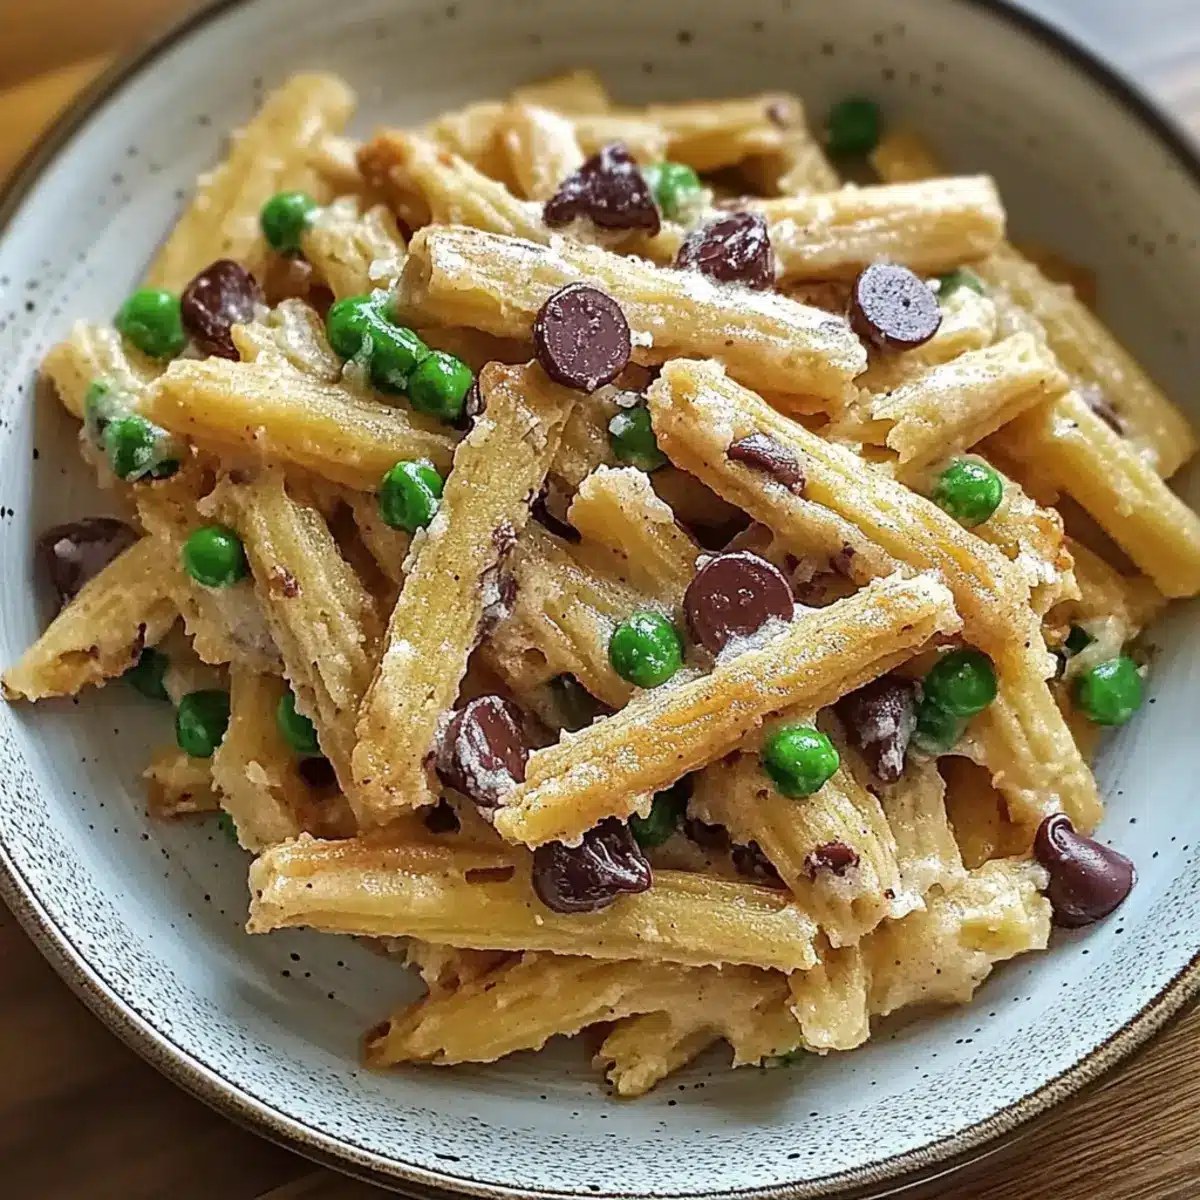
Step‑by‑Step Instructions for Creamy Bacon and Pea Pasta
Step 1: Preheat and Prep
Begin by preheating your oven to 400°F (200°C). While the oven warms up, prepare your ingredients: chop the bacon into small pieces and set aside. This will ensure that the bacon crisps up nicely during cooking, adding a delightful savory crunch to your creamy bacon and pea pasta.
Step 2: Cook the Bacon
In a large skillet over medium heat, add the chopped bacon. Cook for about 5–7 minutes, stirring occasionally, until the bacon is crispy and has released its delicious fat. This step is crucial as it creates a rich base flavor for your pasta dish. Once done, remove the bacon from the skillet and let it drain on paper towels.
Step 3: Sauté the Aromatics
With the bacon fat still in the skillet, add minced garlic and cook for about 1 minute, just until fragrant. Stir frequently to prevent burning; you want the garlic to turn golden, not brown. This aromatic infuses your creamy bacon and pea pasta with depth and warmth, setting the stage for the sauce.
Step 4: Add the Peas
Next, stir in 1 cup of frozen peas and cook for another 2–3 minutes, allowing them to thaw and warm up. Their bright color and sweet flavor will enhance the dish’s overall taste and texture. As they sauté, start boiling a pot of salted water for your pasta.
Step 5: Cook the Pasta
Once the water is boiling vigorously, add your pasta of choice and cook according to the package directions, typically around 8–10 minutes. Remember to save about 1 cup of pasta water before draining; this will help create a silky sauce for your creamy bacon and pea pasta.
Step 6: Make the Sauce
In the skillet with the peas and garlic, pour in 1 cup of heavy cream and stir well. Bring the mixture to a gentle simmer over medium-low heat. This will create a rich, creamy sauce that will coat the pasta beautifully. Season with salt and pepper to taste, allowing the flavors to meld together.
Step 7: Combine It All
Once your pasta is al dente, drain it and add it directly to the skillet with the creamy sauce. Toss everything together, adding reserved pasta water as needed to achieve your desired sauce consistency. Make sure the pasta is well-coated in the creamy goodness for the ultimate flavor experience.
Step 8: Finish and Serve
Lastly, stir in the crispy bacon and mix well. Remove the skillet from heat and let it rest for a minute before serving. The creamy bacon and pea pasta should look inviting and appealing, ready to be devoured. Garnish with freshly cracked black pepper or grated Parmesan cheese, if desired.
How to Store and Freeze Vegan Chocolate Chip Cookies
Room Temperature: Store cookies in an airtight container for up to 5 days to maintain their softness and freshness.
Fridge: If you prefer a firmer texture, refrigerate cookies in a covered container for up to 1 week, ensuring they remain sealed to prevent drying out.
Freezer: For long-term storage, freeze cookies in a single layer, then transfer to an airtight container for up to 3 months. Thaw at room temperature before enjoying.
Reheating: To enjoy warm cookies again, simply microwave for about 10-15 seconds, bringing back that fresh-baked gooeyness that everyone loves!
Make Ahead Options
These Vegan Chocolate Chip Cookies are a fantastic option for meal prep lovers! You can prepare the dough up to 24 hours in advance; simply wrap it tightly in plastic wrap and refrigerate. For even more flexibility, scoop the dough balls onto a baking tray and freeze them. Once frozen, transfer the cookie dough balls to a zip-top bag, where they’ll stay fresh for up to 3 months. When you’re ready to bake, simply pop them directly from the freezer into the oven—no thawing necessary! This ensures you retain the cookies’ delightful softness and chewyness. Serving fresh, homemade cookies has never been easier!
Vegan Chocolate Chip Cookie Variations
Feel free to get creative and customize your cookies with these fun and tasty variations!
- Nutty Delight: Add 1/2 cup of walnuts or pecans for a delicious crunch and nutty flavor.
- Fruit Infusion: Substitute chocolate chips with dried cranberries or cherries for a sweet-tart twist.
- Oatmeal Boost: Mix in 1/2 cup of oats for a chewy, hearty texture similar to classic oatmeal cookies.
- Spice It Up: Incorporate 1 teaspoon of cinnamon or a dash of nutmeg to add warm spice notes to your cookies.
- Coconut Flake: Toss in 1/4 cup of unsweetened shredded coconut for a tropical flair and extra chewiness.
- Minty Chocolate: Use mint-infused vegan chocolate chips to give your cookies a refreshing burst of flavor.
- Cocoa Twist: Replace 1/4 cup of flour with cocoa powder for a chocolatey version that will satisfy any chocoholic.
Elevate your baking experience by exploring these variations, and for more delicious ideas, try out my classic Cucumber Salad Bacon or the comforting flavors of Street Corn Pasta!
Expert Tips for Ultimate Vegan Chocolate Chip Cookies
- Ingredient Temp Matters: Use room temperature ingredients for better mixing; cold ingredients can lead to a dense cookie.
- Avoid Overmixing: Mix dry and wet ingredients just until combined; overmixing can result in tougher cookies.
- Monitor Baking Time: Keep an eye on the baking time; cookies should appear slightly underbaked as they firm up when cooling.
- Try Substitutions: Explore swap options for sugars or chocolate types, but remember to keep the focus on your vegan cookie experience.
- Chill the Dough: For even softer cookies, chill the dough for 30 minutes before baking to enhance the texture and flavor.
- Bake in Batches: If making multiple trays, bake one at a time for consistent results and to avoid uneven baking.
What to Serve with Ultimate Vegan Chocolate Chip Cookies
Indulging in these delightful cookies is just the beginning; let’s create a full meal experience that sings with flavor and comfort.
-
Creamy Almond Milk: The nutty, smooth texture complements the richness of the cookies while balancing their sweetness—perfect for a cozy treat.
-
Fresh Fruit Salad: A vibrant mix of seasonal fruits adds a refreshing contrast. The natural sweetness of fruit provides a bright note to your dessert table.
-
Rich Dairy-Free Ice Cream: Scoop your favorite vegan ice cream alongside the cookies for an indulgent twist that’s sure to satisfy any sweet tooth. It melts perfectly in that warm cookie embrace!
-
Nut Butter Dip: Serve a small bowl of almond or peanut butter for dipping. The creamy richness enhances the chocolatey goodness while adding a wholesome twist.
-
Decadent Vegan Hot Chocolate: Enjoy a mug of rich hot cocoa made with non-dairy milk. This charming drink pairs beautifully, creating a nostalgic dessert moment.
-
Vegan Chocolate Mousse: For an elevated dessert experience, this silky treat will complement the chewy cookies, making for an unforgettable conclusion to your meal.
Turn your cookie moment into a delightful feast that brings everyone together!
Ultimate Vegan Chocolate Chip Cookies Recipe FAQs
What’s the best way to choose ripe ingredients for this recipe?
Absolutely! For the best flavor in your cookies, select ingredients that are fresh. Make sure your baking soda is not expired, as this can affect the cookies’ rise. For the non-dairy milk, choose unsweetened varieties to control the cookie’s sweetness. Fresh vanilla extract will enhance the flavor, so opt for freshly purchased bottles when possible.
How should I store my vegan chocolate chip cookies?
To keep your cookies soft and fresh, store them in an airtight container at room temperature for up to 5 days. For longer shelf life, pop them in the fridge, where they can stay for up to a week. Just ensure they are covered to prevent them from drying out!
Can I freeze these cookies? What’s the method?
Yes, you can definitely freeze these cookies! Start by allowing them to cool completely. Then, place them in a single layer on a baking sheet and freeze them for about an hour until firm. After that, transfer the cookies to an airtight container or a zip-top freezer bag. They can last up to 3 months in the freezer. To enjoy, simply thaw at room temperature and refresh in the microwave for about 10-15 seconds.
What should I do if my cookies turn out too dry?
If your vegan chocolate chip cookies are dry, it’s often due to overmixing or too much flour. For next time, ensure you measure your flour correctly—spoon it into the measuring cup rather than scooping directly from the bag. If you find yourself in this situation, you can try adding a splash of non-dairy milk or soaking them in coffee as a unique way to soften them up before serving!
Are there any allergy considerations with this recipe?
These cookies are naturally dairy-free and egg-free, making them suitable for vegans and those with lactose intolerance. However, double-check the packaging on your vegan chocolate chips and non-dairy milk for any potential allergens, especially if anyone you’re serving has nut or soy allergies. To make the cookies gluten-free, simply use a 1:1 gluten-free flour blend instead of all-purpose flour.
Can I substitute any of the ingredients for healthier options?
The more the merrier! You can swap regular granulated sugar with coconut sugar for a lower glycemic index. Additionally, consider using whole wheat flour instead of all-purpose for a nuttier flavor and added fiber. If you want a richer flavor, use dark chocolate chips instead of regular vegan chips, or even toss in some nuts or dried fruit for added nutrition!
Creamy Bacon and Pea Pasta That Everyone Will Love
Ingredients
Equipment
Method
- Preheat your oven to 400°F (200°C) and prepare your ingredients.
- In a large skillet over medium heat, cook the chopped bacon until crispy, about 5-7 minutes.
- Remove the bacon and let it drain on paper towels, keeping the bacon fat in the skillet.
- Sauté minced garlic in the bacon fat for 1 minute until fragrant.
- Add the thawed peas and cook for an additional 2-3 minutes.
- Cook the pasta according to package directions and save 1 cup of pasta water before draining.
- In the skillet, pour in the heavy cream and simmer to create a sauce.
- Combine the cooked pasta and sauce, adjusting the consistency with reserved pasta water.
- Stir in the crispy bacon and serve garnished with fresh cracked pepper.
Leave a Reply