
The sweet scent of summer is in the air, and nothing captures that feeling quite like a batch of homemade Brownie Ice Cream Sandwiches. This easy summer dessert marries fudgy chocolate brownies with creamy ice cream for a nostalgic treat that is sure to delight both kids and adults. What I love most about this recipe is its incredible simplicity—made with just a handful of pantry staples, it comes together in no time at all, making it perfect for impromptu gatherings or cooling off after a hot day. Plus, the possibilities for flavor variations are endless! Whether you stick with classic vanilla or experiment with mint chocolate chip, these sandwiches promise to bring smiles all around. Are you ready to scoop up some joy? Let’s dive into this deliciously fun recipe!
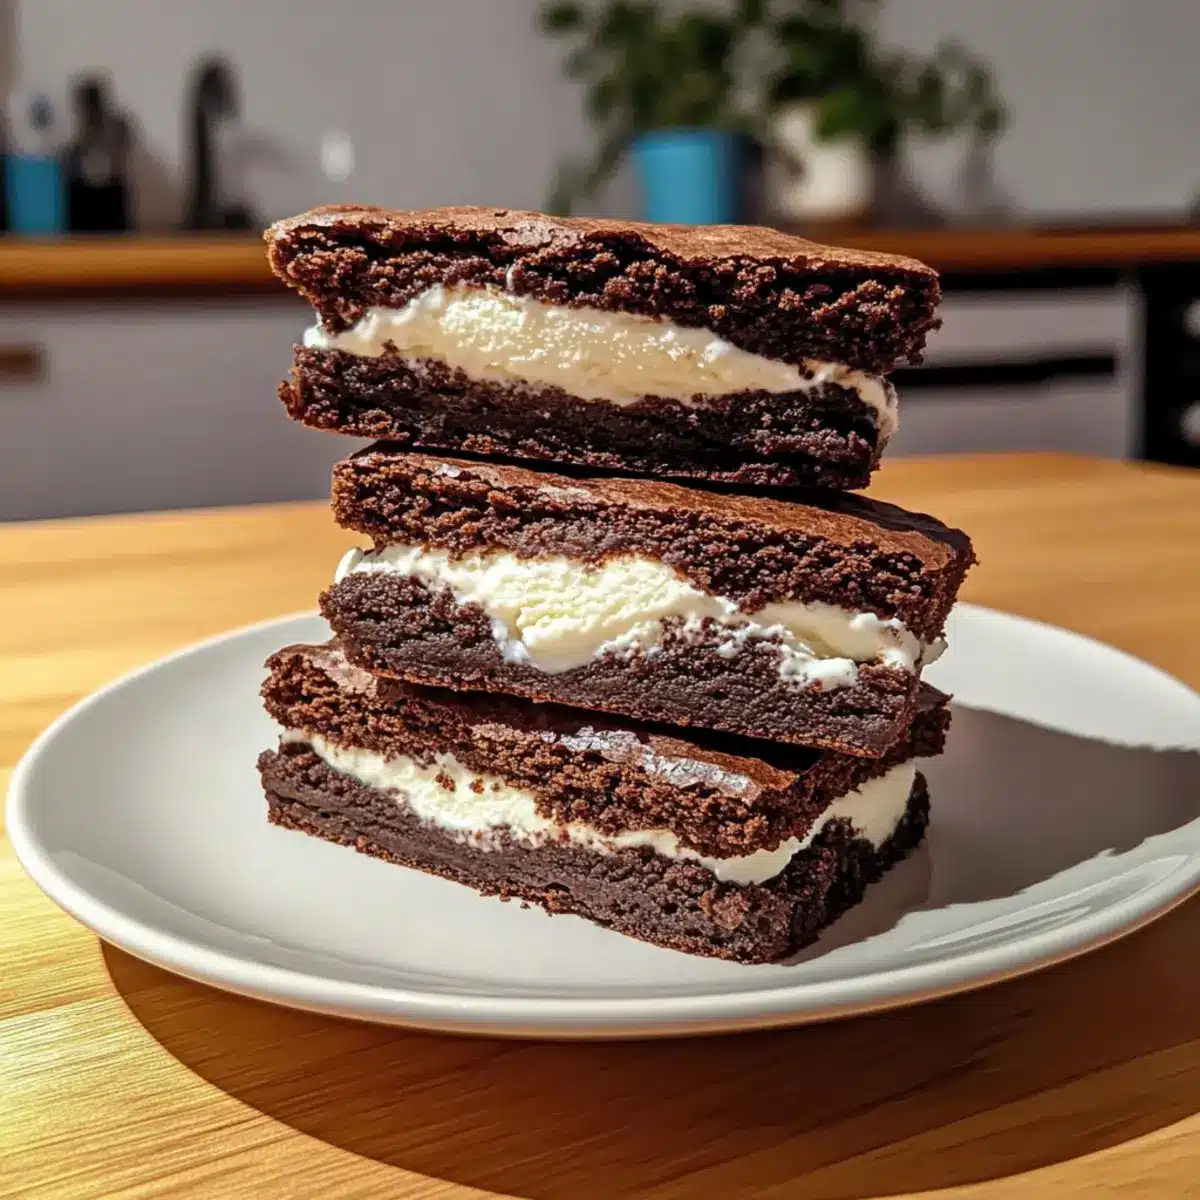
Why Are Brownie Ice Cream Sandwiches Perfect?
Irresistible Combination: The blend of rich, fudgy brownies with luscious ice cream creates an explosive flavor sensation that delights all ages.
Easily Customizable: With a variety of ice cream flavors like mint chocolate chip or strawberry, you can tailor these sandwiches to suit any palate.
Fuss-Free Preparation: This recipe is quick and easy, requiring minimal ingredients and effort—perfect for busy weeknights or unexpected guests!
Summer Smash Hit: Ideal for warm days, these treats are the ultimate crowd-pleaser at barbecues or family get-togethers. Pair them with a chilled drink or a fresh fruit salad for that extra touch.
Gluten-Free Option: Simply swap in a gluten-free flour blend to make these delightful desserts accessible to everyone! Whether enjoying with friends or indulging solo, you’ll love every bite of these Brownie Ice Cream Sandwiches.
Brownie Ice Cream Sandwich Ingredients
• Discover the essentials for mouthwatering Brownie Ice Cream Sandwiches!
For the Brownies
- Butter – Adds richness and moisture to the brownies; melted coconut oil can be used for a dairy-free option.
- Granulated Sugar – Provides sweetness and helps achieve that perfect brownie texture; use coconut sugar for a lower glycemic alternative.
- Eggs – Bind the ingredients together and give structure; ensure they’re well-beaten for increased aeration.
- Vanilla Extract – Enhances flavor depth; feel free to swap it for different extracts based on your flavor preference.
- All-Purpose Flour – Gives structure to the brownies; easy to substitute with gluten-free flour for those avoiding gluten.
- Cocoa Powder – Provides the classic chocolate flavor; adjust for a richer or lighter brownie taste.
- Salt – Enhances overall flavors and balances sweetness; make sure not to leave it out!
- Baking Powder – Helps the brownies rise for a tender crumb; essential for a perfect bake.
For the Ice Cream Filling
- Ice Cream – Acts as the delicious filling for the sandwiches; try mint chocolate chip, strawberry, or coffee to create your unique flavor profile.
These simple yet essential ingredients will help you create delightful Brownie Ice Cream Sandwiches that will satisfy any sweet tooth during the hot summer months!
Step‑by‑Step Instructions for Brownie Ice Cream Sandwiches
Step 1: Preheat Oven
Begin by preheating your oven to 350°F (175°C). This ensures that your brownies will bake evenly, achieving that desirable fudgy texture. While the oven heats up, prepare a 9×13 inch baking pan by greasing it lightly, which will help your brownies come out effortlessly once baked.
Step 2: Melt Butter
In a medium saucepan over low heat, melt 1 cup of butter until it’s completely clear and smooth. You can also use a microwave for this step, heating in short bursts. Once melted, transfer the butter to a mixing bowl to cool slightly, which will keep your brownies tender.
Step 3: Mix Sugar
Whisk in 2 cups of granulated sugar into the melted butter until the mixture becomes smooth and glossy. This process will incorporate air and moisture, contributing to the rich texture of your Brownie Ice Cream Sandwiches. Make sure the sugar blends well with the butter, and then set it aside.
Step 4: Incorporate Eggs
Add 4 large eggs to the sugar-butter mixture, one at a time, mixing thoroughly after each addition. The eggs are crucial for binding, so ensure they are well combined! Then, stir in 2 teaspoons of vanilla extract, enhancing the flavor of your brownies before moving on to the dry ingredients.
Step 5: Combine Dry Ingredients
In a separate bowl, whisk together 1 cup of all-purpose flour, ¾ cup of cocoa powder, 1 teaspoon of baking powder, and ½ teaspoon of salt. Gradually add this dry mixture to the wet ingredients, folding them together gently until just combined. Be careful not to overmix, as this could lead to denser brownies.
Step 6: Bake
Pour the brownie batter into your prepared baking pan, spreading it evenly with a spatula. Bake in the preheated oven for 25-30 minutes, or until you can insert a toothpick and it comes out with moist crumbs. The brownies should look slightly puffed and set at the edges, creating a delightful fudgy center.
Step 7: Cool and Slice
Once baked, remove the brownies from the oven and allow them to cool in the pan for about 10-15 minutes. Afterward, transfer them to a wire rack to cool completely. Once cool, carefully slice the brownies into 2-inch squares to prepare for assembling your delicious Brownie Ice Cream Sandwiches.
Step 8: Assemble Sandwiches
Take one brownie square and place a generous scoop of your favorite ice cream on top. Next, place another brownie square on top to create a sandwich. Press gently but firmly. Consider using flavors like mint chocolate chip or strawberry to customize your sandwiches and elevate the delight.
Step 9: Serve or Freeze
You can serve the Brownie Ice Cream Sandwiches immediately for a soft, indulgent treat or wrap them individually in plastic wrap and freeze for up to three months. If frozen, simply remove them a few minutes before enjoying to allow them to soften slightly for the perfect bite!
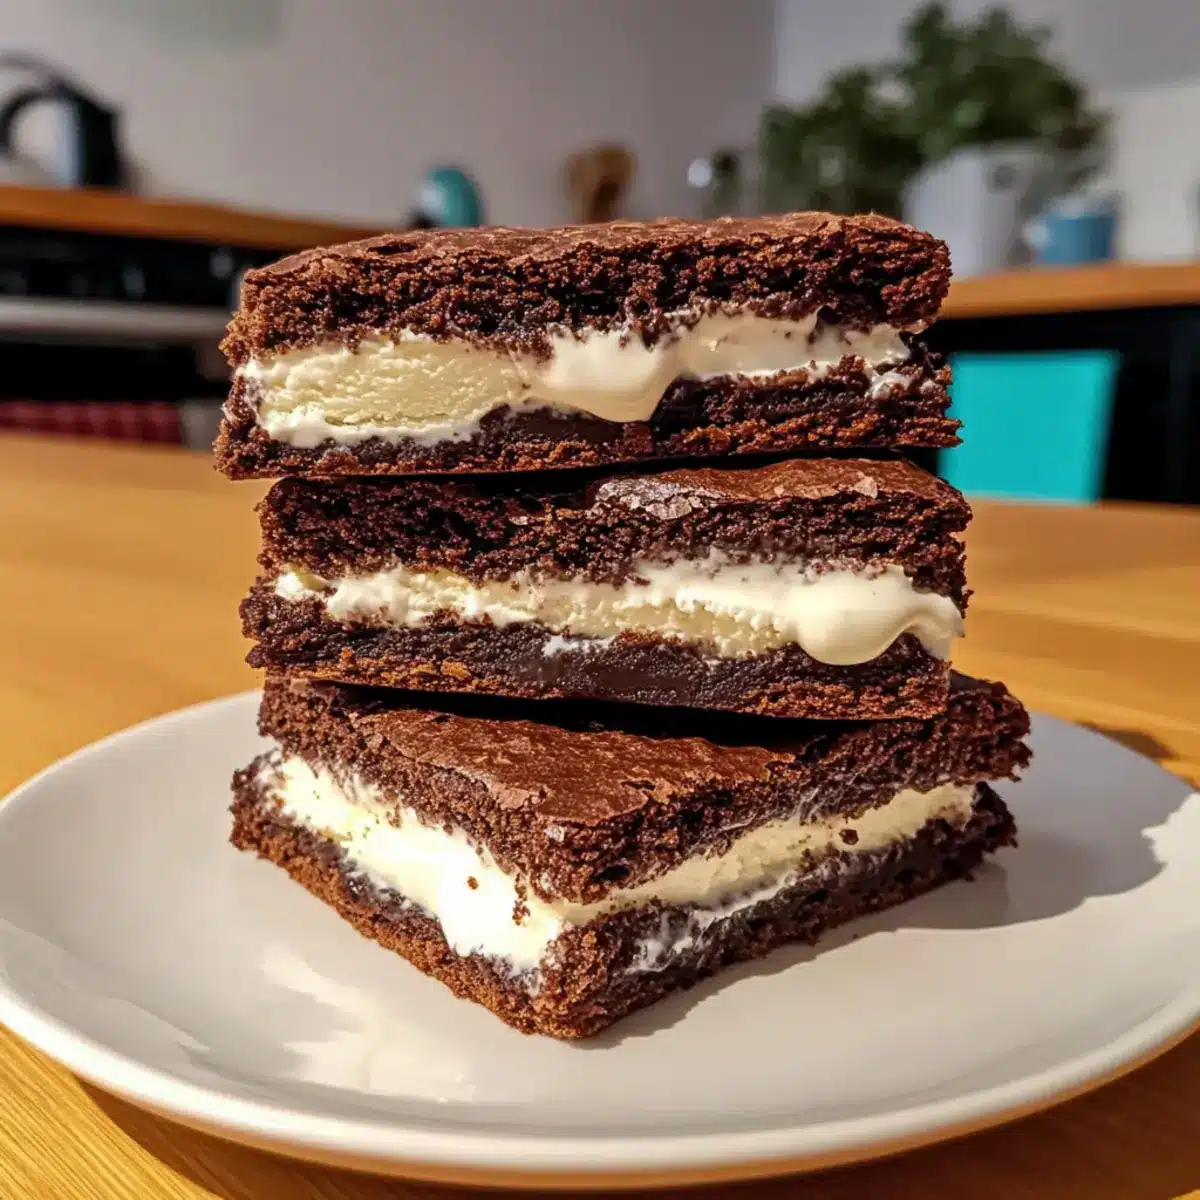
Brownie Ice Cream Sandwiches Variations
Feel free to get creative and customize your brownie ice cream sandwiches for a flavor explosion that tantalizes your taste buds!
-
Dairy-Free: Substitute traditional ice cream with a coconut or almond milk-based ice cream to enjoy a delightful treat without dairy.
-
Gluten-Free: Replace all-purpose flour with a blend of gluten-free flour for everyone at your gathering to enjoy without worry.
-
Nutty Surprise: Fold in a cup of chopped walnuts or pecans into the brownie batter for a crunch that beautifully enhances the softness.
-
Fruity Fusion: Spread a layer of fresh raspberry or strawberry jam on the brownies to add a fresh, fruity twist between the layers of chocolate and ice cream.
-
Spicy Kick: Add a pinch of cayenne pepper or chili powder to the brownie batter to give it a warm, unexpected kick that contrasts wonderfully with the ice cream.
-
S’mores Style: Crumble graham crackers into the brownie mix and add mini marshmallows to the filling for a campfire classic in every bite!
-
Minty Freshness: Replace vanilla ice cream with mint chocolate chip ice cream for a refreshing twist that’s mint to be enjoyed!
-
Caramel Drizzle: For an elegant touch, drizzle homemade or store-bought caramel sauce over the ice cream before sealing your sandwich, adding a layer of gooey sweetness.
Embrace these variations to make your Brownie Ice Cream Sandwiches a hit at family gatherings, or simply to treat yourself after a long day! If you’re inspired for more delightful recipes, check out Tuscan Ravioli Soup or whip up a batch of Corn Pasta Salad for a comforting meal!
Expert Tips for Brownie Ice Cream Sandwiches
- Melted Butter: Ensure the butter is completely melted before mixing for a smooth batter that blends beautifully.
- Avoid Overmixing: Mix the batter just until combined to prevent dense brownies. Overmixing can lead to chewy textures you don’t want.
- Cooling Time: Allow the baked brownies to cool completely before cutting to maintain clean edges for your sandwiches.
- Flavor Balance: Enhance each sandwich by adding a layer of caramel or chopped nuts between the brownie and ice cream for added texture and richness.
- Storage: If making ahead, store assembled Brownie Ice Cream Sandwiches in an airtight container in the freezer for up to three months for the best flavor preservation.
Make Ahead Options
These Brownie Ice Cream Sandwiches are a fantastic choice for busy home cooks looking to save time! You can prepare the brownie base up to 24 hours in advance by baking it, cooling it completely, and storing it in an airtight container in the refrigerator. Additionally, you can scoop the ice cream into individual portions and keep them covered in the freezer for up to 3 days. When you’re ready to assemble, simply slice the brownies into squares, add your favorite ice cream layer, and create your sandwiches. This prep method ensures your treat will be just as delicious as fresh, while saving you precious time when friends or family come knocking for a sweet summer delight!
What to Serve with Brownie Ice Cream Sandwiches
Bring your summer gatherings to life with delightful pairings that enhance the joys of your delicious treat!
- Chilled Grape Juice: Refreshing and sweet, it pairs perfectly with the rich chocolate, balancing the flavors beautifully.
- Sparkling Water with Citrus: A bubbly, zesty drink that cleanses the palate between bites, keeping the focus on your irresistible sandwiches.
- Fruit Salad: A light, colorful mix of seasonal fruits adds freshness and a contrast of textures that complements the dessert’s richness.
- Whipped Cream: A dollop of light and airy whipped cream adds indulgence, perfectly marrying with the brownie and ice cream.
- Fresh Berries: Strawberries or raspberries add a tart burst of flavor and a pop of color that enhances the entire dessert experience.
- Mint Chocolate Chip Ice Cream: Serve with a scoop of the same flavor for an extra boost of chocolatey mint delight to your sandwiches!
- Chocolate Sauce Drizzle: A rich and luscious chocolate sauce over the top enhances the fudgy brownie flavor, making each bite even more decadent.
- Miniature Brownie Bites: Extend the joy with these bite-sized treats that create a fun, interactive dessert experience for guests.
- Lemonade: The tartness of freshly squeezed lemonade creates a delightful contrast, refreshing your taste buds after the sweet indulgence.
How to Store and Freeze Brownie Ice Cream Sandwiches
- Room Temperature: Best enjoyed fresh or served soft; do not leave out for more than 1 hour during gatherings to maintain quality.
- Fridge: If serving within a day, refrigerate assembled sandwiches to keep them cool and soft; consume within 24 hours for optimal flavor.
- Freezer: Wrap each sandwich tightly in plastic wrap and store in an airtight container for up to 3 months for the best taste and texture.
- Reheating: If frozen, let the Brownie Ice Cream Sandwiches sit at room temperature for a few minutes before enjoying; this allows the ice cream to soften for that perfect bite.
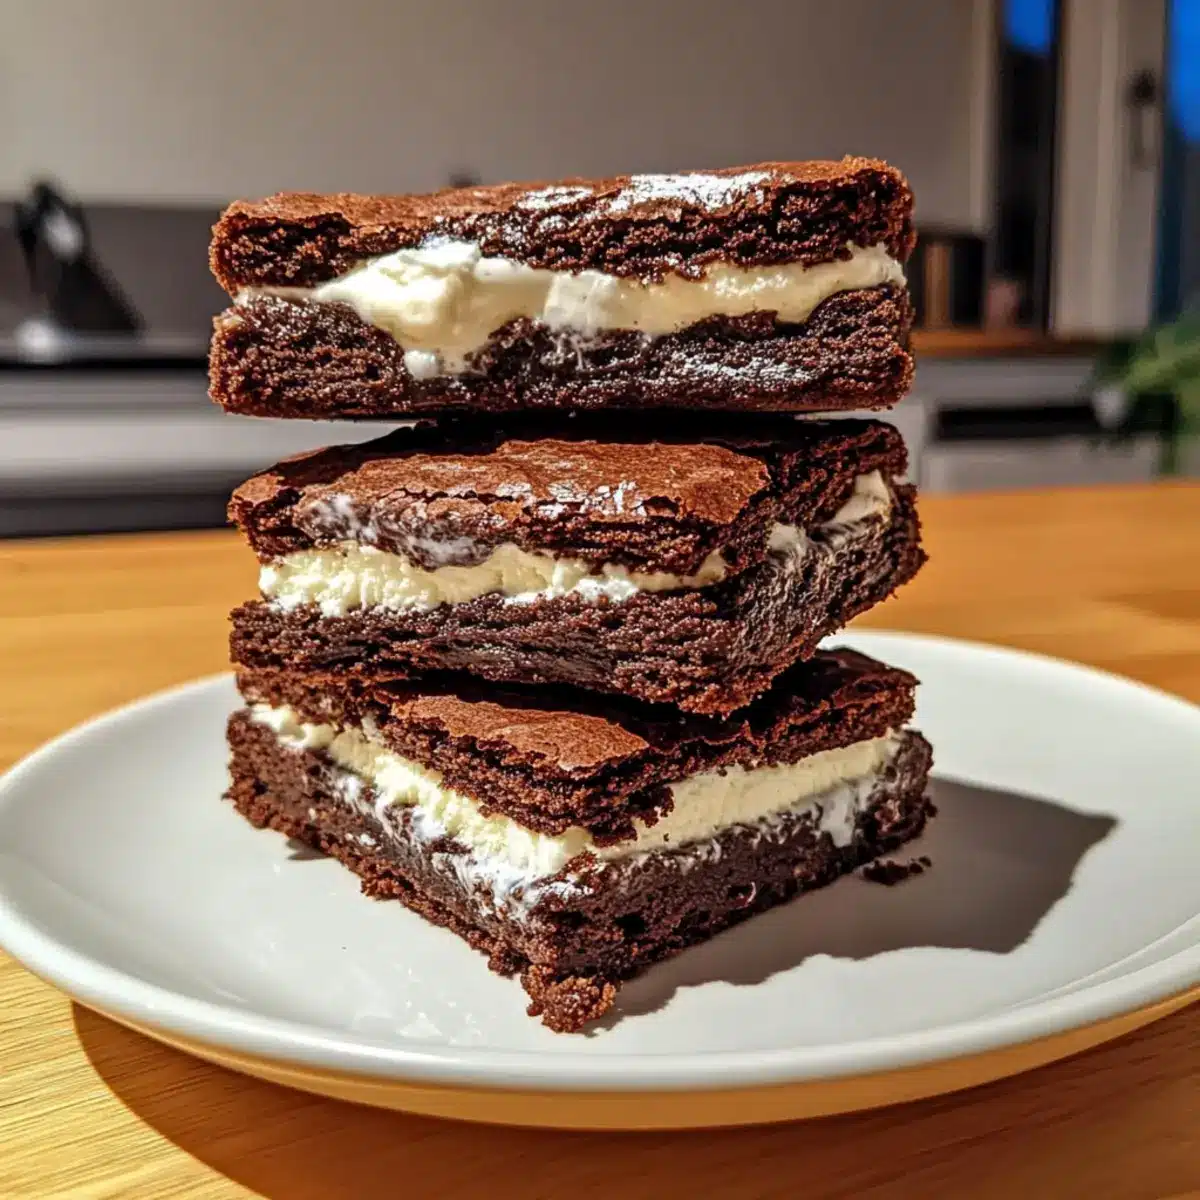
Brownie Ice Cream Sandwiches Recipe FAQs
How do I select the best ingredients for my Brownie Ice Cream Sandwiches?
Absolutely! To get the best results, opt for high-quality unsalted butter which adds richness to your brownies. For sugar, granulated works well, but I often use coconut sugar for a hint of caramel flavor and a lower glycemic index. When choosing cocoa powder, go for a Dutch-processed variety for a deeper chocolate flavor. Ensuring your eggs are fresh and at room temperature will help them incorporate better into your batter.
What is the best way to store Brownie Ice Cream Sandwiches?
The more the merrier when it comes to enjoying these treats! Store assembled Brownie Ice Cream Sandwiches in an airtight container in the freezer for up to three months. For those days when you plan to serve them sooner, refrigerate the sandwiches instead. This way, they will stay soft and delightful, best enjoyed within 24 hours.
Can I freeze Brownie Ice Cream Sandwiches?
Yes, absolutely! To freeze, wrap each sandwich tightly in plastic wrap and place them in an airtight container. This will keep them from getting freezer burn and maintain texture. They can last up to three months in the freezer. Before devouring, take them out a few minutes ahead so that they soften slightly for a perfect bite!
What can I do if my brownies turn out too dense?
Very! If you find your brownies dense, it may be a result of overmixing your batter. Always mix until just combined after adding dry ingredients, as overmixing can incorporate too much air. Another tip is to ensure the butter is fully melted but not too hot; mixing in hot butter can also lead to denser textures. Lastly, check your baking powder’s freshness; expired leavening agents won’t help your brownies rise.
Are there any dietary considerations for Brownie Ice Cream Sandwiches?
Definitely! For gluten-sensitive friends, simply swap in a gluten-free flour blend; it works wonders in this recipe. If anyone has a dairy allergy, you can use dairy-free butter in the brownies and non-dairy ice cream as a filling. This way, everyone can enjoy this delicious summer dessert without worries!
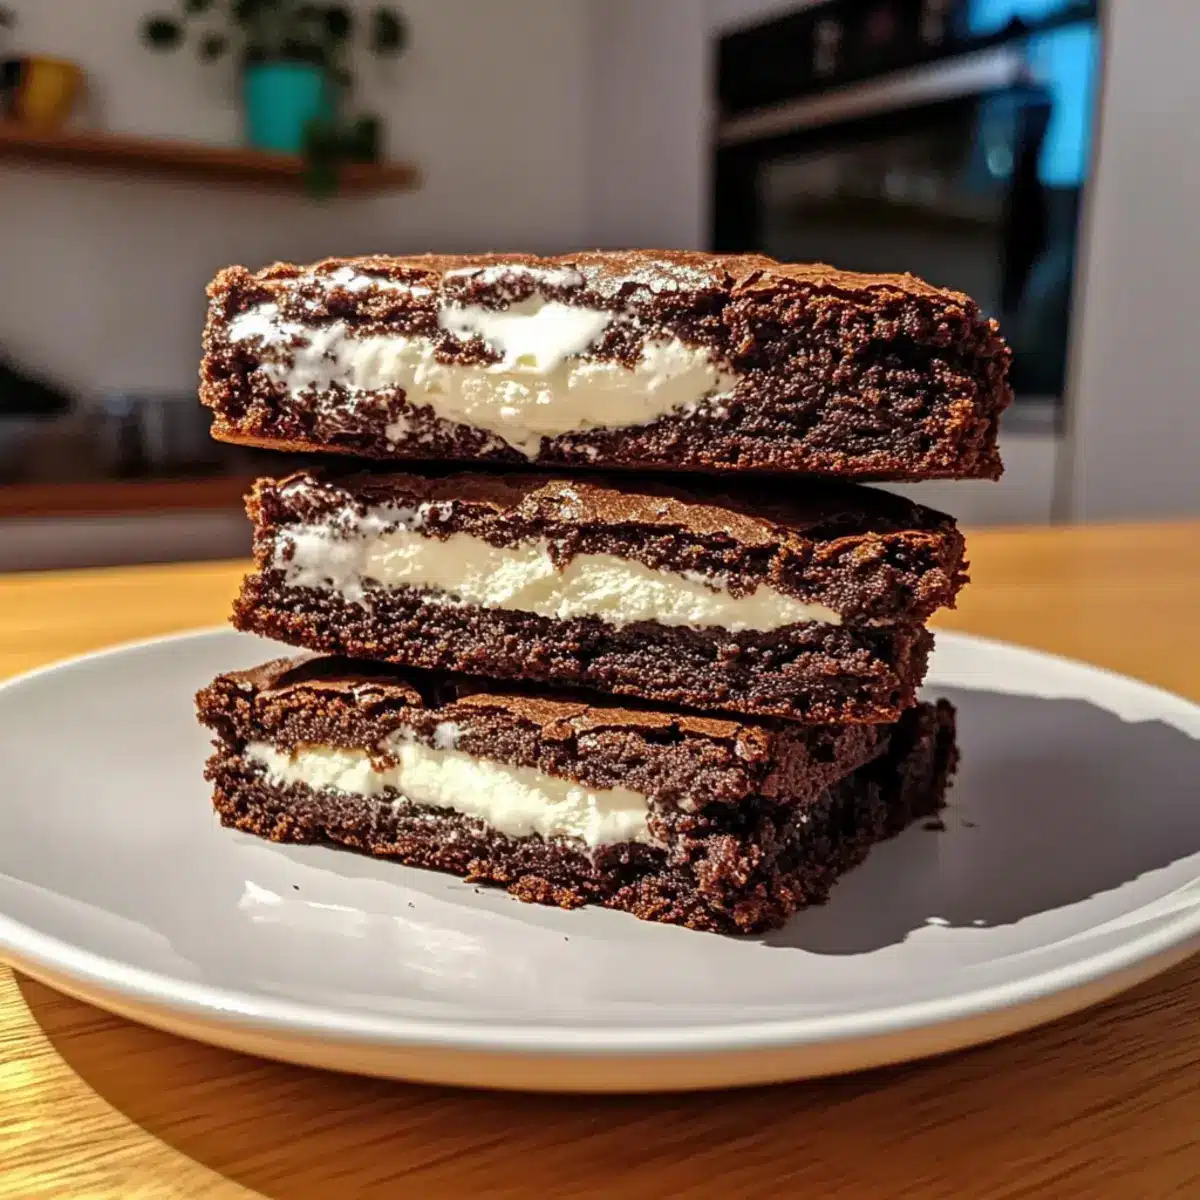
Decadent Brownie Ice Cream Sandwiches for Summer Delight
Ingredients
Equipment
Method
- Preheat your oven to 350°F (175°C) and prepare a 9x13 inch baking pan by greasing it lightly.
- Melt 1 cup of butter until clear and smooth, then transfer to a mixing bowl to cool slightly.
- Whisk in 2 cups of granulated sugar into the melted butter until smooth and glossy.
- Add 4 large eggs one at a time, mixing thoroughly after each addition, then stir in 2 teaspoons of vanilla extract.
- In a separate bowl, whisk together 1 cup of all-purpose flour, ¾ cup of cocoa powder, 1 teaspoon of baking powder, and ½ teaspoon of salt.
- Gradually add the dry mixture to the wet ingredients, folding gently until just combined.
- Pour the brownie batter into your prepared baking pan and bake for 25-30 minutes.
- Allow the brownies to cool in the pan for about 10-15 minutes before transferring to a wire rack to cool completely.
- Slice the brownies into 2-inch squares to prepare for assembling the sandwiches.
- Take one brownie square, add a scoop of ice cream on top, then place another brownie square to create a sandwich.
- Serve immediately or wrap in plastic wrap and freeze for up to three months.
Leave a Reply