
In the midst of a busy day, that sweet craving strikes unexpectedly, doesn’t it? Enter my Chocolate Peanut Butter Crunch Cups—a charming solution made from just three ingredients! These no-bake treats effortlessly combine rich chocolate, creamy peanut butter, and crispy rice cereal for a delightful snack that pleases both kids and adults alike. Not only are they quick to whip up, making them a fantastic option for those of us who are always on the go, but they also fit seamlessly into gluten-free diets, ensuring everyone can enjoy a sweet taste of nostalgia without the fuss. With just a few simple steps, you’ll have a batch of crunchy, kid-friendly delights that will rapidly disappear from the fridge. Ready to satisfy your sweet tooth while making magical memories in the kitchen? Let’s dive into this easy recipe!
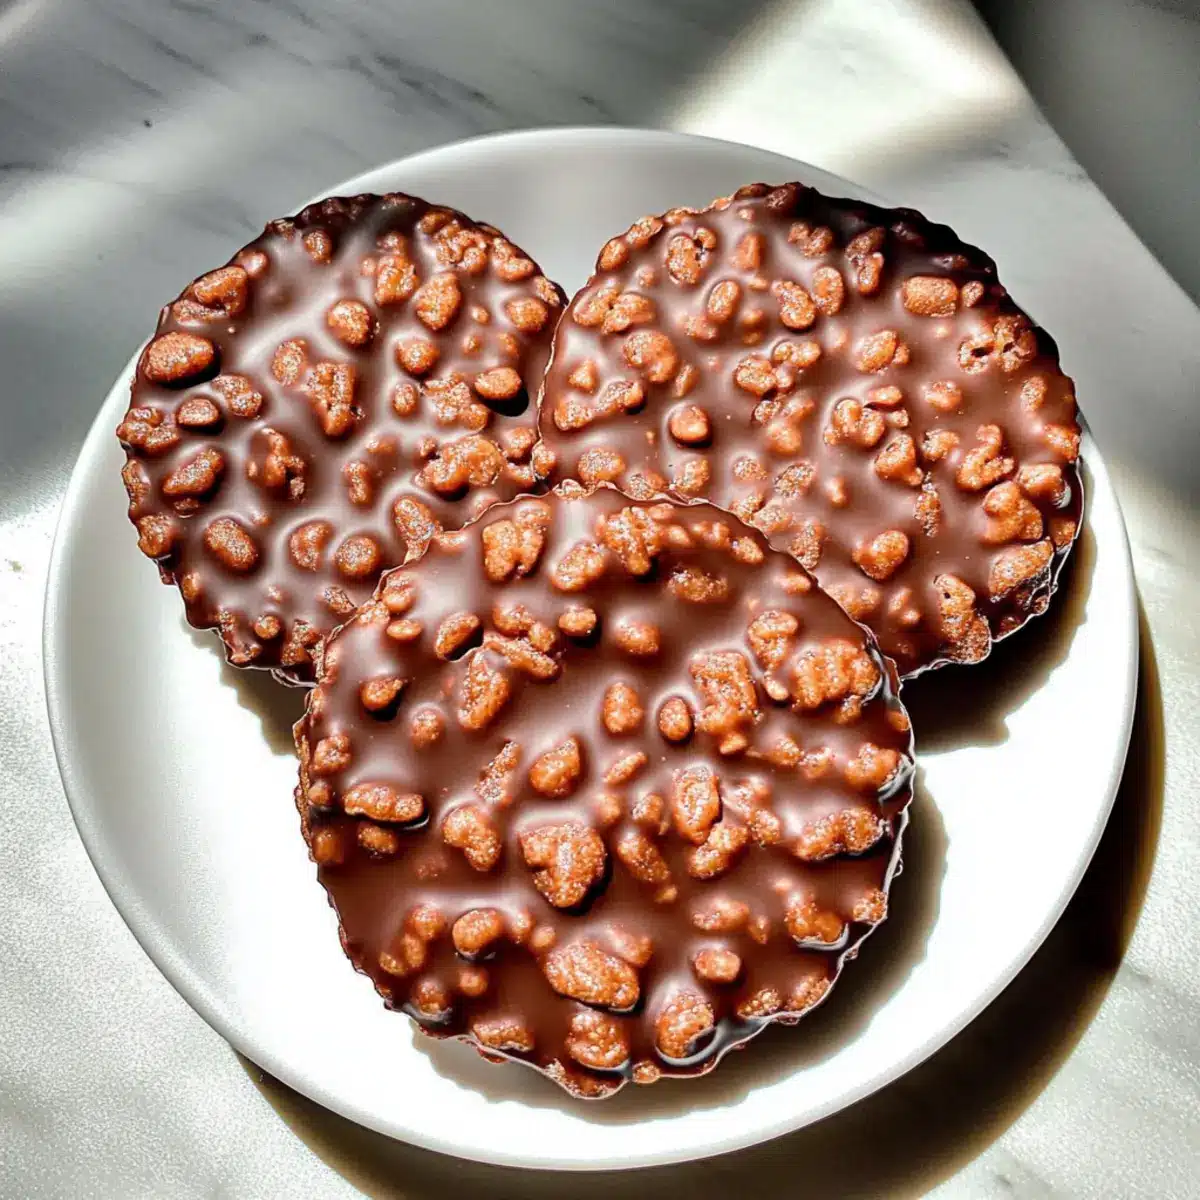
Why will kids love these cups?
Irresistible Crunch: The crispy rice cereal adds a delightful texture that makes each bite satisfying and fun.
Quick and Simple: You only need three ingredients and minimal prep time—perfect for busy parents!
Kid-Friendly Fun: Watch your little ones get excited as they help mix and fill the muffin tins.
Sweet Nostalgia: These cups capture the essence of classic treats, bringing back memories for adults while introducing kids to something new.
Gluten-Free Goodness: Ideal for anyone avoiding gluten, these treats let everyone join the fun without worry.
Plus, if you’re in the mood for more easy snacks, don’t miss our Moist Chocolate Chip or Crockpot Garlic Butter recipes!
Chocolate Peanut Butter Crunch Cups Ingredients
• Whip up the magic with these three essentials!
For the Cups
- Chocolate Chips – Select your preferred type (dark, milk, or semi-sweet) for the sweetest flavor burst in your Chocolate Peanut Butter Crunch Cups.
- Peanut Butter – Choose creamy or crunchy for a delightful nutty taste; swap in almond butter or tahini for nut-free options.
- Crispy Rice Cereal – This adds the crucial crunch—feel free to substitute with gluten-free cereal or cornflakes if you wish!
Step‑by‑Step Instructions for Chocolate Peanut Butter Crunch Cups
Step 1: Prep the Muffin Tins
Start by preheating your workspace to ensure efficiency. Line your mini muffin tins with paper liners; this will make it easier to release the Chocolate Peanut Butter Crunch Cups later. Make sure each liner is snug against the sides of the tin, ready to be filled with your delicious mixture.
Step 2: Melt Chocolate
In a microwave-safe bowl, add your chocolate chips, then microwave them on medium power for 30 seconds. Stir, and repeat in 15-30 second intervals until the chocolate is completely melted and smooth, with a glossy sheen. Keep a close eye to prevent burning; this process usually takes about 1-2 minutes if done correctly.
Step 3: Mix Peanut Butter
Once your chocolate is perfectly melted, remove it from the microwave and add the creamy peanut butter directly to the bowl. Stir the two together until they form a luscious, well-combined mixture. The chocolate should maintain a warm temperature for easy mixing, creating a dreamy base for your cups.
Step 4: Add Cereal
Gently fold in the crispy rice cereal, ensuring each piece is well coated with the chocolate-peanut butter mixture. Stir slowly and carefully to maintain the crunch and prevent breaking the rice cereal. This step adds the delightful crunch that defines your Chocolate Peanut Butter Crunch Cups.
Step 5: Fill the Tins
Using a small spoon, evenly distribute the mixture into the prepared muffin tins, filling each liner to the very top. The mixture might be warm, but don’t rush; take your time to ensure every cup is filled nicely. This step is crucial for achieving those perfectly portioned treats that everyone will love.
Step 6: Set and Chill
Place the filled muffin tins in the refrigerator and allow them to chill for at least 1 hour, or until the cups are firm to the touch. This cooling time is essential for the ingredients to set together, resulting in stable, tasty Chocolate Peanut Butter Crunch Cups ready for enjoyment.
Step 7: Storage
Once the cups are chilled and firm, carefully remove them from the muffin tins and store them in an airtight container. If you want to keep them fresh longer, consider placing them in the freezer. These delightful treats can stay delicious for up to 2 months, making snacking a breeze whenever a sweet craving strikes!
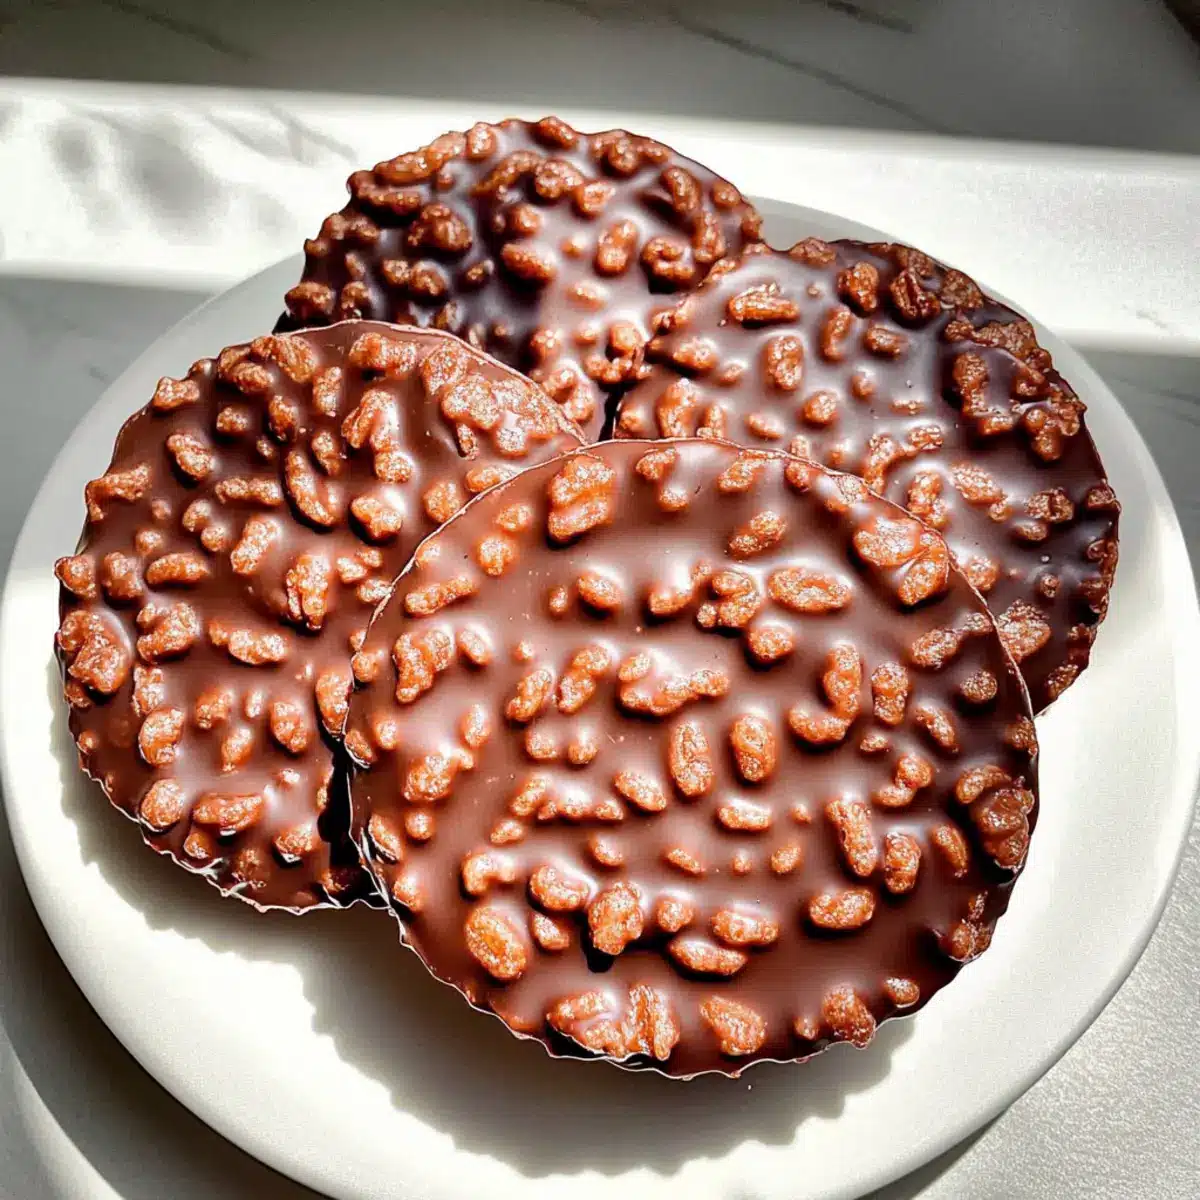
How to Store and Freeze Chocolate Peanut Butter Crunch Cups
Room Temperature: Although best kept chilled, you can store them in a cool, dry place for up to 3 days in an airtight container, but they may soften.
Fridge: Keep your Chocolate Peanut Butter Crunch Cups in the fridge for up to 2 weeks. This will help maintain their delicious texture and flavor.
Freezer: For long-term storage, place the cups in an airtight container or freezer bag and freeze them for up to 2 months. They won’t lose their shape, making them easy to enjoy later.
Reheating: If frozen, let your Chocolate Peanut Butter Crunch Cups sit at room temperature for about 5-10 minutes before enjoying. This helps them soften slightly for the perfect treat!
Chocolate Peanut Butter Crunch Cups Variations
Feel free to get creative with these delicious twists on the classic flavor of your Chocolate Peanut Butter Crunch Cups!
-
Nut-Free: Replace peanut butter with tahini or sunflower seed butter to make them safe for kids with nut allergies.
Switching to tahini not only keeps the flavor exquisite; it also brings a unique savory note that makes these cups even more intriguing. -
Chocolate Variety: Experiment with dark, milk, or white chocolate chips for a flavor change.
By swapping the chocolate type, you can customize the sweetness level to fit any craving, creating something new every time! -
Extra Crunch: Add chopped nuts or seeds for a delightful texture boost.
Chopped almonds or pumpkin seeds will add that extra crunch, making your cups even more satisfying with every bite. -
Fruity Twist: Mix in mini marshmallows or dried fruit like cranberries or raisins for a chewy surprise.
This addition not only enhances the texture but also introduces bursts of sweetness that will delight every palate. -
Spicy Kick: Incorporate a dash of cayenne pepper or chili powder for a surprising heat.
This unexpected twist will intrigue adventurous eaters and offer a delightful contrast to the sweetness of the chocolate and peanut butter. -
Dairy-Free Delight: Use dairy-free chocolate chips and natural peanut butter for a vegan-friendly option.
This keeps the delicious essence of the treats while ensuring they cater to various dietary preferences. -
Flavor-Infused: Add a dash of vanilla or almond extract to the melted chocolate for a flavor boost.
This subtle addition elevates the overall taste profile, and brings your Chocolate Peanut Butter Crunch Cups to an entirely new level.
And for those who enjoy savory dishes too, be sure to check out our Crockpot Garlic Butter or Texas Roadhouse Butter recipes for delightful inspirations!
Make Ahead Options
These Chocolate Peanut Butter Crunch Cups are a fantastic option for meal prep lovers! You can prepare the mixture up to 24 hours in advance; simply melt the chocolate, mix in the peanut butter, and fold in the crispy rice cereal. Once combined, cover the bowl with plastic wrap and refrigerate it. When you’re ready to serve, just spoon the mixture into muffin tins, chill for another hour, and they’ll be just as delicious! If you want to keep them fresh longer, you can also freeze the filled cups after they set; they stay tasty for up to 2 months, ensuring you always have a quick treat at hand!
What to Serve with Chocolate Peanut Butter Crunch Cups
These delightful treats offer a touch of nostalgia and fun as part of a balanced crunchy dessert spread.
- Fresh Fruit Salad: Bright and juicy fruit complements the rich flavors of the cups, adding a refreshing burst of vitamins and colors to your plate.
- Milkshakes: A creamy milkshake pairs perfectly with the crunchiness, creating a satisfying contrast and satisfying those sweet cravings together.
- Vanilla Ice Cream: Scoop some vanilla ice cream alongside your cups for an indulgent treat, enhancing the chocolate and peanut butter experience with every bite.
- Trail Mix: A homemade trail mix with nuts and dried fruit adds a nutritious crunch that pairs naturally with your sweet cups, making a balanced snack.
- Chocolate Dipping Sauce: Want to turn up the indulgence? Drizzle some warm chocolate sauce over the cups for an extra layer of chocolatey delight!
- Almond Milk: A glass of chilled almond milk is a delightful alternative, keeping a light yet creamy flavor that refreshes the palate.
- Caramel Sauce: Drizzle a little caramel sauce on top or serve it as a dip; the sweet and salty combination will elevate your dessert experience.
- Coffee: A warm cup of coffee balances the sweetness, creating the perfect ending to an afternoon snack or light meal.
Expert Tips for Chocolate Peanut Butter Crunch Cups
- Melt Chocolate Perfectly: Ensure your chocolate is fully melted without any lumps for a smooth blend with peanut butter. Stir continuously to avoid burning.
- Non-Stick Trick: Use non-stick spray on metal muffin tins before adding liners, making it easy to release your Chocolate Peanut Butter Crunch Cups once set.
- Temperature Matters: Let the cups sit out for 5-10 minutes after removing from the freezer for a perfect, fudgy texture that’s easy to enjoy.
- Consistent Sizes: Aim for uniform spoonfuls when filling the muffin tins to ensure even setting and portion sizes for every delicious cup.
- Mix It Up: Experiment with add-ins like mini chocolate chips or dried fruits for a fun twist on your classic Chocolate Peanut Butter Crunch Cups!
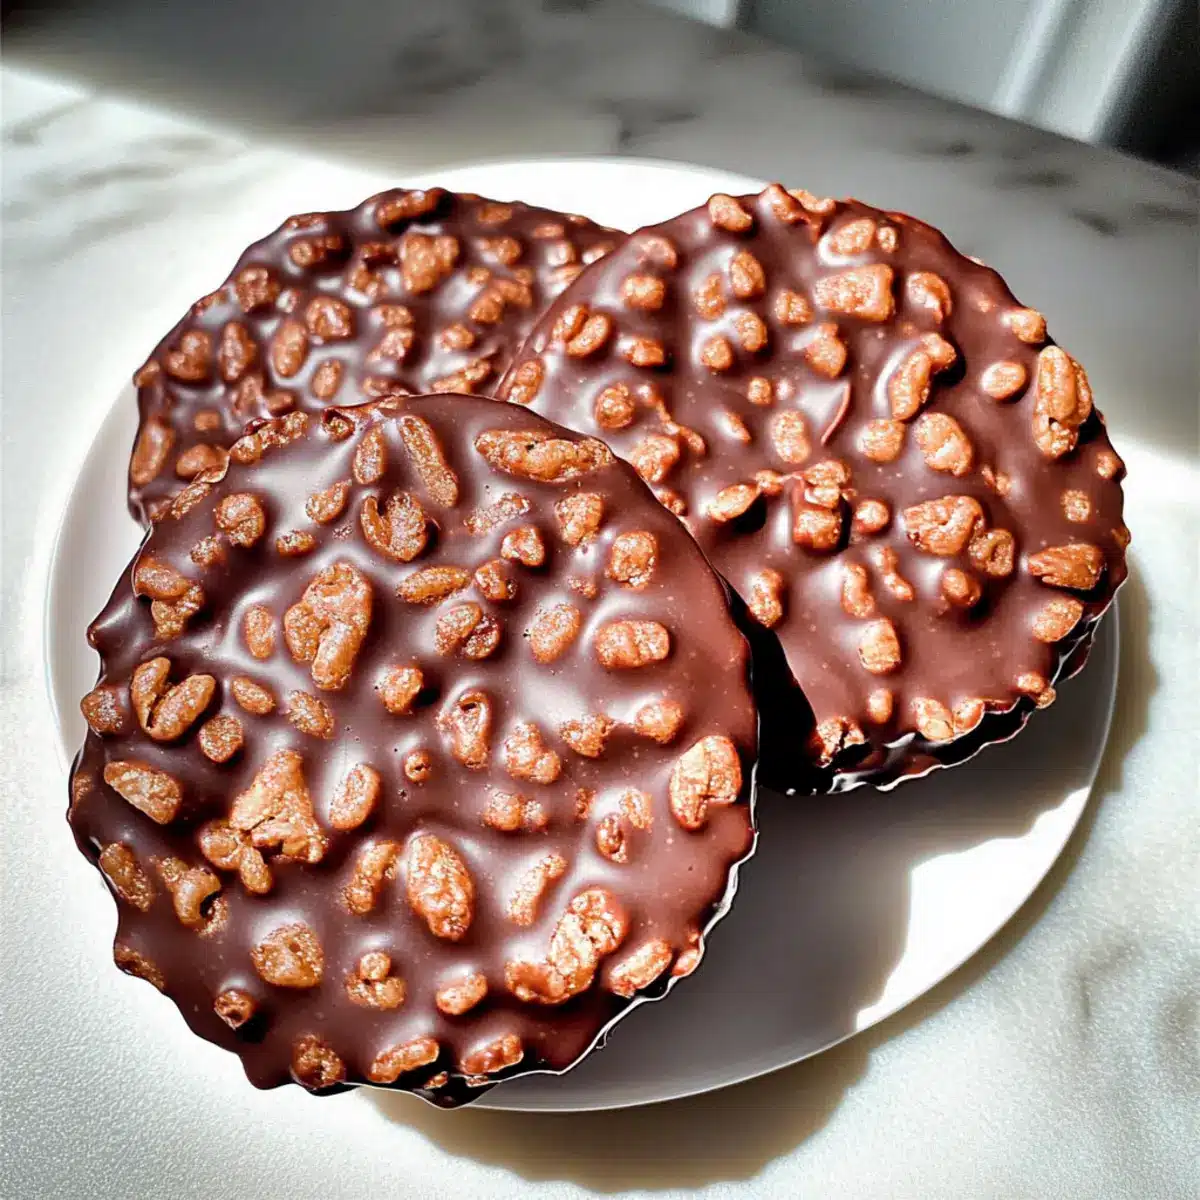
Chocolate Peanut Butter Crunch Cups Recipe FAQs
What type of chocolate should I use for the cups?
Absolutely! You can use any kind of chocolate chips you prefer, such as dark, milk, or semi-sweet. Each type brings a unique sweetness and richness to your Chocolate Peanut Butter Crunch Cups. I often use semi-sweet for a balanced flavor!
How should I store my Chocolate Peanut Butter Crunch Cups?
To maintain their delightful crunch and flavor, store your Chocolate Peanut Butter Crunch Cups in an airtight container. They can last up to 2 weeks in the fridge. For longer storage, keep them in the freezer for up to 2 months; just ensure they’re well-sealed to prevent freezer burn.
Can I freeze the Chocolate Peanut Butter Crunch Cups?
Yes! Freezing is a great option to enjoy your treats later. To freeze, place the cups in a single layer in an airtight container or freezer bag, ensuring they are not touching. This prevents them from sticking together. They’ll maintain their shape beautifully for up to 2 months.
What should I do if my mixture seems too runny?
If you find your mixture is too runny, ensure your chocolate is fully melted and not too hot, which can affect how it binds with the peanut butter and cereal. If it’s still too thin, you can add a few more crispy rice cereal pieces to absorb the moisture. Mix gently until you reach the desired consistency.
Are there any allergy considerations with these ingredients?
Of course! While the Chocolate Peanut Butter Crunch Cups are inherently nutty with peanut butter, you can easily make them nut-free by substituting peanut butter with almond butter or tahini. Always check ingredient labels for allergens, especially with chocolate chips, as they can sometimes contain traces of nuts or dairy.
Do I need to use paper liners in the muffin tins?
Using paper liners is highly encouraged! It makes removing the Chocolate Peanut Butter Crunch Cups from the muffin tin a breeze, ensuring they maintain their shape. If you’re using metal tins and don’t have liners, a quick spray of non-stick cooking spray will also work well to release the cups easily.
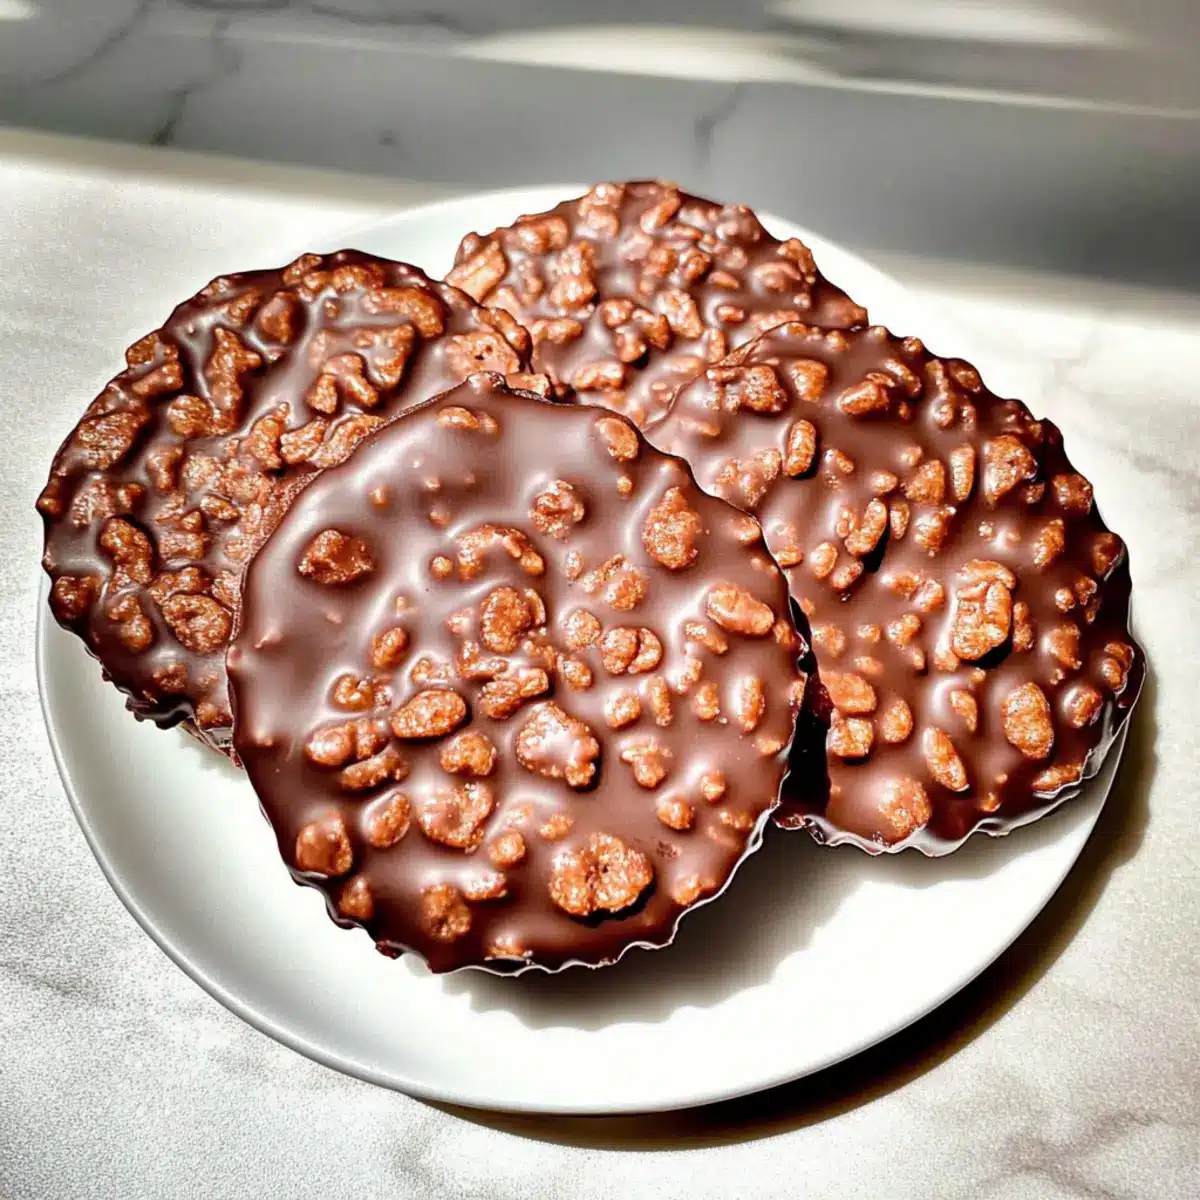
Chocolate Peanut Butter Crunch Cups that Kids Will Love
Ingredients
Equipment
Method
- Line mini muffin tins with paper liners.
- In a microwave-safe bowl, melt chocolate chips in intervals until smooth.
- Stir in peanut butter until well combined.
- Fold in crispy rice cereal gently to coat.
- Spoon mixture into muffin tins, filling to the top.
- Refrigerate for at least 1 hour until firm.
- Remove from tins and store in an airtight container.
Leave a Reply