
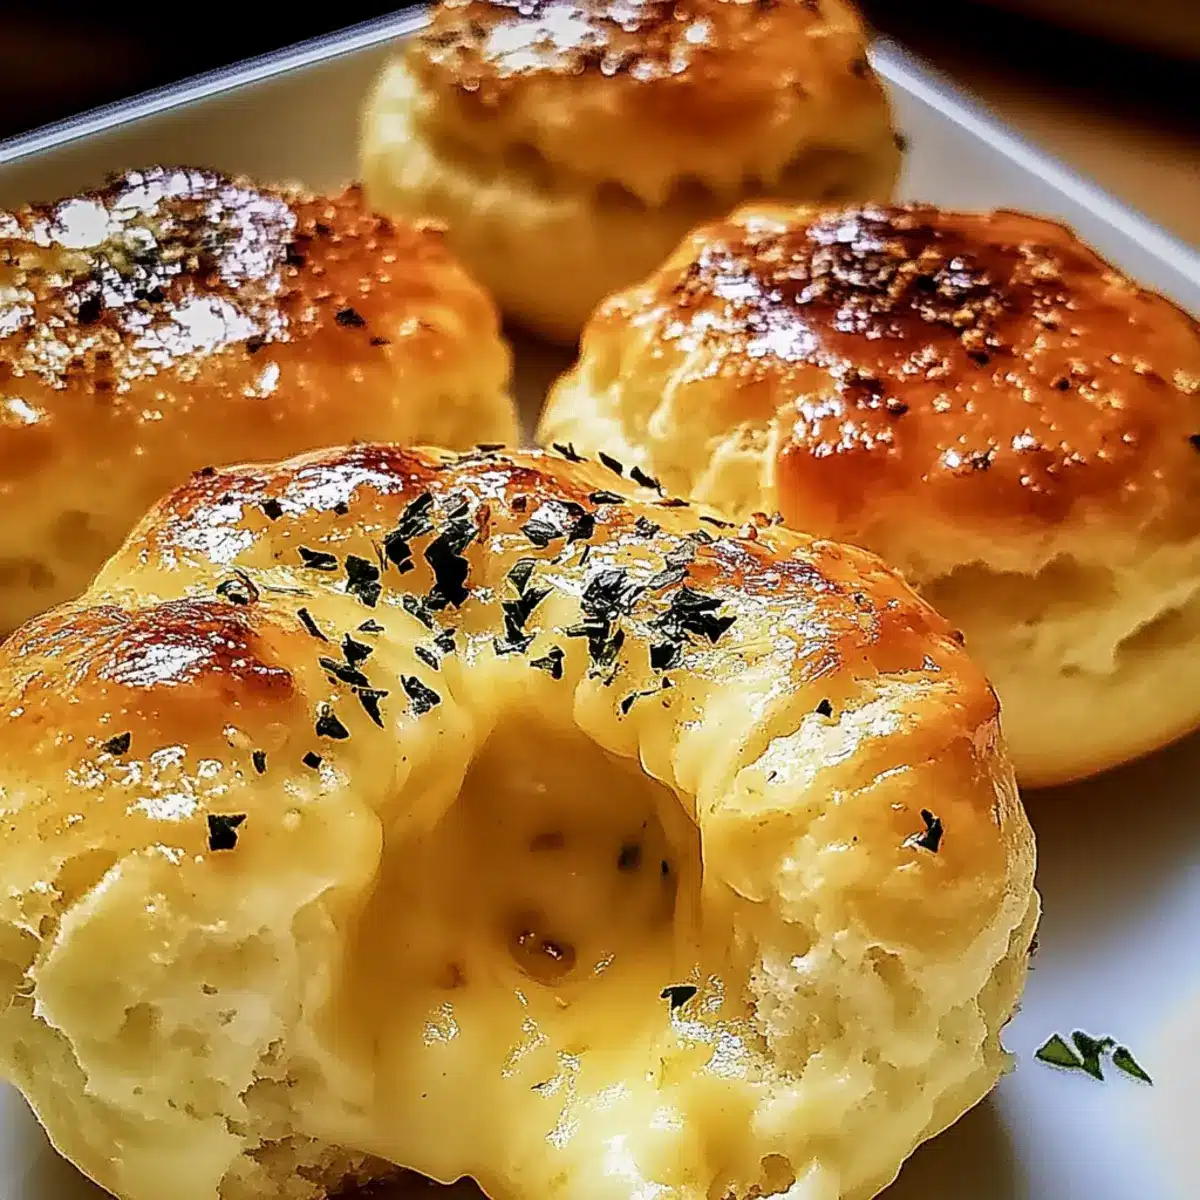
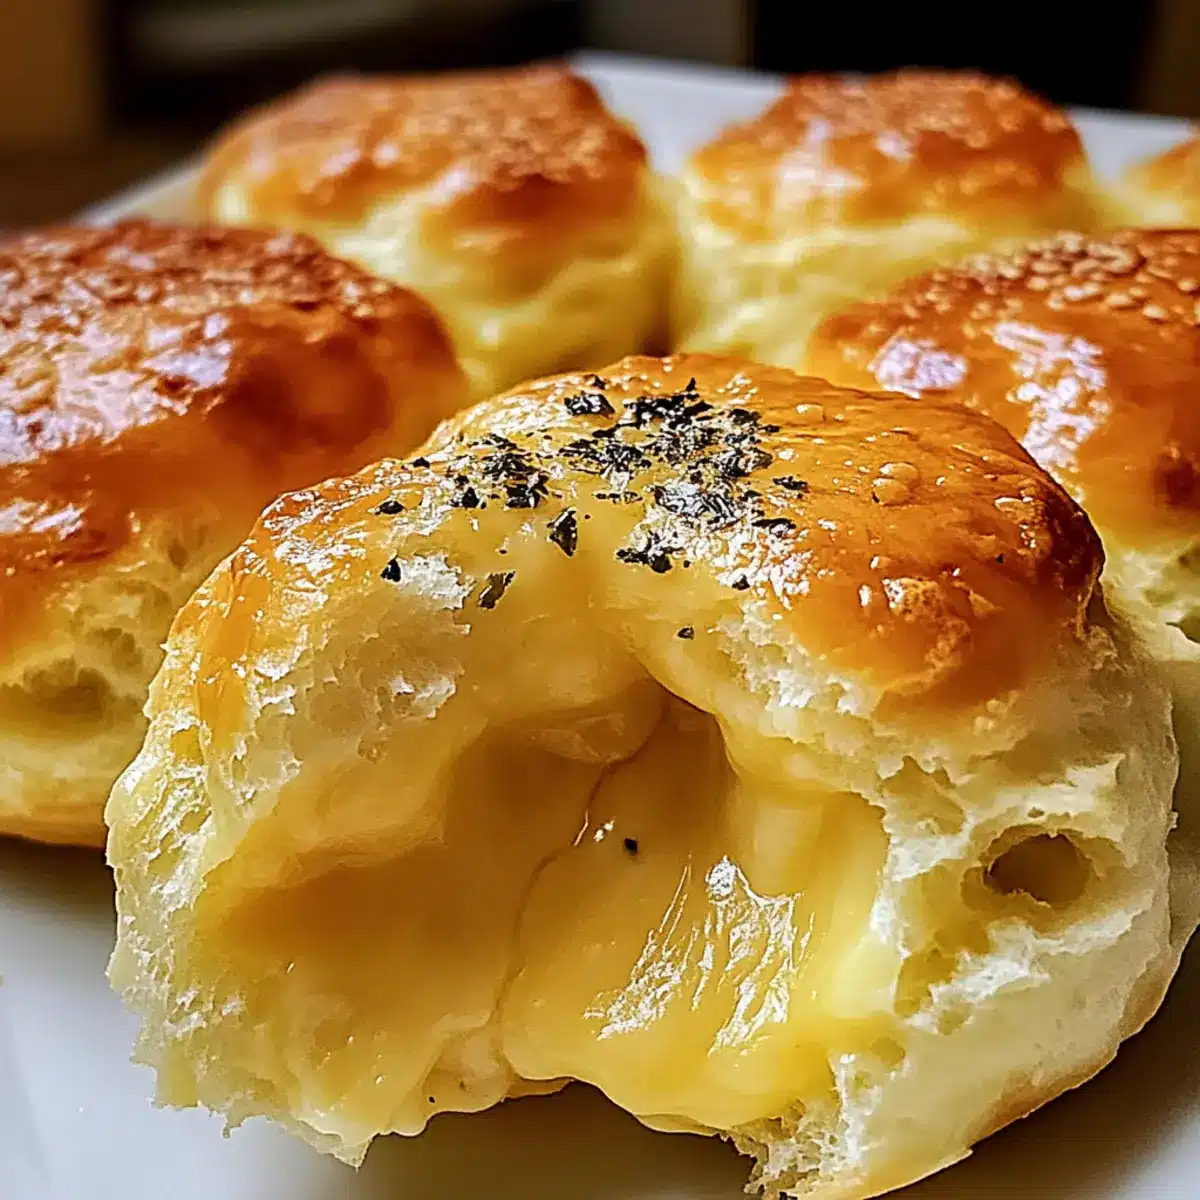
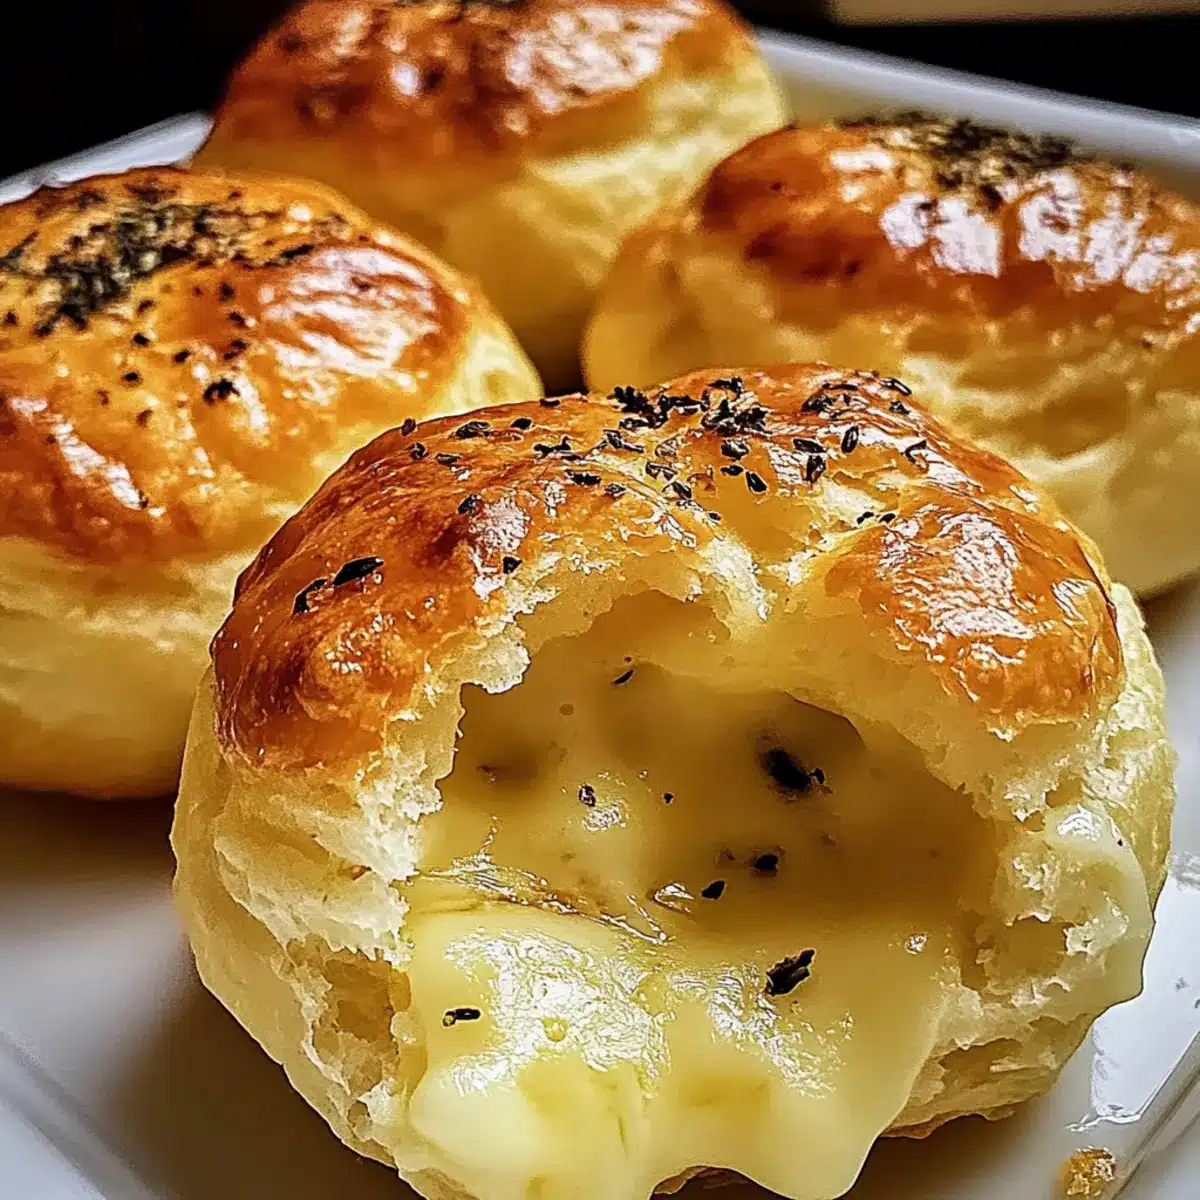
As I pulled the golden, flaky balls from the oven, the warm, buttery aroma enveloped my kitchen, instantly whisking me away to family gatherings filled with laughter and shared deliciousness. These Pillsbury Biscuit Garlic Butter Cheese Bombs are not only quick and easy to whip up but also the ultimate crowd-pleaser that even the pickiest eaters can’t resist. In just 30 minutes, you can have a mouthwatering appetizer on your table, perfect for busy weeknights or game day festivities. The gooey, melty cheese center, combined with the rich garlic butter glaze, creates an irresistible flavor explosion that leaves everyone coming back for more. Ready to elevate your appetizer game? Let’s dive into this delightful recipe!
Why are these snacks irresistible?
Quick & Easy: You can whip up these Garlic Butter Cheese Bombs in just 30 minutes, making them a no-fuss option for unexpected guests or a last-minute snack.
Crowd-Pleaser: Their gooey cheese center and savory garlic flavor make them a hit at parties, ensuring everyone leaves with happy taste buds.
Customizable: Feel free to get creative! Swap in your favorite cheeses or add herbs and spices to suit your palate—check out variations like Crockpot Garlic Butter or Healthy Garlic Parmesan for inspiration!
Kid-Friendly: These delightful bites are perfect for little ones who can help make and enjoy them. The fun, cheesy filling is always a winner!
Perfect for Any Occasion: Whether you pair them with marinara sauce or serve them alongside soups, they fit seamlessly into any gathering or family meal.
Pillsbury Biscuit Garlic Butter Cheese Bombs Ingredients
• Get ready to create a flavorful masterpiece with these tantalizing ingredients!
For the Cheese Filling
- Refrigerated Biscuit Dough – The base structure for your cheese bombs; feel free to experiment with any brand or even homemade.
- Shredded Mozzarella Cheese – Melts beautifully to create that gooey center; substitute with pepper jack for an extra kick.
- Shredded Cheddar Cheese – Adds depth of flavor, choose between mild or sharp based on your taste preference.
For the Garlic Butter Glaze
- Melted Butter – Richness galore! Olive oil can make a great alternative if you’re looking for a lighter option.
- Garlic Powder – Infuses your dish with aromatic goodness; fresh garlic offers a bolder flavor—just adjust to your liking.
- Onion Powder – A dash enhances complexity; feel free to omit it for a simpler taste.
- Dried Parsley – Bring a splash of color and freshness to the dish; fresh herbs can be used (just increase the amount a bit!).
- Salt and Black Pepper – These staples elevate your flavors; don’t hesitate to adjust quantities based on your dietary needs.
These Pillsbury Biscuit Garlic Butter Cheese Bombs are a deliciously easy way to impress family, friends, and, most importantly, yourself!
Step‑by‑Step Instructions for Pillsbury Biscuit Garlic Butter Cheese Bombs
Step 1: Preheat the Oven
Begin by preheating your oven to 375°F (190°C). This temperature will ensure your Pillsbury Biscuit Garlic Butter Cheese Bombs bake evenly to a beautiful golden brown. While your oven warms up, gather your baking sheet and line it with parchment paper for easy cleanup.
Step 2: Prepare the Cheese Filling
In a mixing bowl, combine the shredded mozzarella and cheddar cheeses, mixing thoroughly to ensure an even distribution of flavors. You can customize this filling by adding other cheeses if you’d like. Set the cheese mixture aside while you prepare the biscuit dough, allowing the flavors to meld.
Step 3: Shape the Biscuits
Take each biscuit from the refrigerated dough and flatten it slightly, just enough to create a little pocket. Once flattened, place about 1 tablespoon of the cheese mixture in the center of each biscuit. This will create a delightful cheesy surprise once baked, so don’t be shy with the filling!
Step 4: Seal the Biscuits
Carefully fold the biscuit dough over the cheese, pinching the edges together to seal it well. Roll each filled biscuit into a tight ball shape. It’s important to ensure there are no gaps; otherwise, the cheese may leak during baking.
Step 5: Mix the Garlic Butter Glaze
In a separate bowl, mix together the melted butter, garlic powder, onion powder (if using), dried parsley, salt, and black pepper. This rich garlic butter mixture will infuse your cheese bombs with incredible flavor, so take the time to mix until well combined.
Step 6: Brush the Garlic Butter
Using a pastry brush, gently brush each biscuit ball with the garlic butter mixture. Make sure to coat them generously, as this will give your Pillsbury Biscuit Garlic Butter Cheese Bombs their signature buttery glaze. Don’t forget to cover every nook and cranny!
Step 7: Bake the Cheese Bombs
Place the garlic butter-coated biscuit balls onto the prepared baking sheet, leaving space between each one. Bake in the preheated oven for 15 to 20 minutes, or until they are golden brown and puffed up beautifully. The aroma of garlic and cheese filling your kitchen will be irresistible!
Step 8: Cool and Serve
Once baked, remove the cheese bombs from the oven and let them cool for a few minutes on the baking sheet. This allows the cheese to set a bit and makes them easier to handle. Serve warm, and watch as everyone digs into these delicious Pillsbury Biscuit Garlic Butter Cheese Bombs!

Pillsbury Biscuit Garlic Butter Cheese Bombs Variations
Feel free to get creative with these scrumptious cheese bombs and make them your own!
-
Different Cheeses: Mix up the cheeses by adding gouda or spicy pepper jack for a new twist on flavor. The more cheese, the better!
-
Bacon Lovers: For an extra savory touch, incorporate finely chopped, cooked bacon bits into the cheese filling. It adds a delightful crunch!
-
Veggie Delight: Try adding diced jalapeños or bell peppers for a fresh and colorful veggie twist. They’ll bring a delightful bite and texture.
-
Herb Explosion: Incorporate finely chopped fresh herbs like rosemary or thyme into the cheese mixture. Fresh herbs elevate the flavor to a whole new level.
-
Gluten-Free: Swap out the refrigerated biscuit dough for gluten-free biscuits if you have dietary restrictions. Everyone can enjoy these cheesy indulgences!
-
Spicy Kick: Add a sprinkle of crushed red pepper flakes to the garlic butter glaze for your spice enthusiasts. It’ll raise the heat and make your taste buds dance!
-
Dipping Sauces: Serve these bombs with your favorite dipping sauces like marinara or ranch for extra flavor. Make it an interactive experience; everyone loves to dip!
For more ideas, check out my delicious recipes like Crockpot Garlic Butter or whip up a batch of Healthy Garlic Parmesan to expand your appetizer repertoire!
Expert Tips for Pillsbury Biscuit Garlic Butter Cheese Bombs
-
Seal Well: Ensure your biscuit edges are tightly pinched to prevent cheese leakage. A well-sealed bomb holds in that gooey goodness!
-
Customize Wisely: Feel free to swap cheeses or add herbs, but avoid overfilling to keep the Pillsbury Biscuit Garlic Butter Cheese Bombs manageable.
-
Monitor Baking: Ovens can vary, so check your cheese bombs a few minutes early to prevent over-baking. Look for a golden brown color!
-
Infuse Flavor: Let the garlic butter sit for a few minutes after mixing before brushing it on the biscuits, allowing the flavors to bloom beautifully.
-
Serve Hot: These cheese bombs are best enjoyed fresh from the oven. Serve them warm for the most delightful experience!
Storage Tips for Pillsbury Biscuit Garlic Butter Cheese Bombs
Fridge: Store leftover cheese bombs in an airtight container for up to 3 days. Before serving, reheat in the oven to restore their crispy texture.
Freezer: Unbaked garlic butter cheese bombs can be frozen for up to 2 months. Freeze them on a baking sheet before transferring to a freezer bag for easy storage.
Reheating: To reheat thawed cheese bombs, place them in the oven at 350°F (175°C) for 10-15 minutes. This will ensure they are warm and the cheese is gooey!
Make-Ahead: Prepare and freeze the cheese bombs ahead of time for a quick snack or appetizer. Just bake from frozen, adding a few extra minutes to the baking time!
What to Serve with Pillsbury Biscuit Garlic Butter Cheese Bombs
Elevate your appetizer spread with these mouthwatering dips and sides that will delight everyone at your table.
- Marinara Sauce: A classic pairing, the rich, tangy sauce complements the buttery cheese bombs perfectly, adding a delicious dip.
- Ranch Dressing: Creamy and tangy, ranch dressing provides a refreshing contrast to the warm, cheesy bites for an irresistible combo.
- Fresh Salad: A crisp green salad balances the richness of the cheese bombs, adding a light, refreshing crunch to your meal.
- Honey Mustard: The sweet and tangy notes of honey mustard create a delightful dipping experience, enhancing every cheesy bite.
- Stuffed Peppers: Served alongside, these spicy or mild stuffed peppers bring an exciting burst of flavor, making for a colorful plate.
- Garlic Bread: For garlic lovers, pairing these cheese bombs with buttery garlic bread takes the savory experience to another level.
- Beer or Wine: A chilled lager or fruity white wine complements the savory flavors beautifully, making the meal feel extra special.
- Chocolate Mousse: End your culinary adventure on a sweet note with a rich chocolate mousse for a luxurious dessert that balances the meal.
- Herb Buttered Potatoes: Creamy potatoes with a herb-infused butter offer a cozy, comforting side that goes hand-in-hand with the appetizers.
Make Ahead Options
These Pillsbury Biscuit Garlic Butter Cheese Bombs are perfect for meal prep, saving you time on busy weeknights! You can prepare the filled biscuit balls up to 24 hours in advance; simply follow the shaping and sealing steps, then refrigerate them in an airtight container to maintain freshness. To enhance flavors, you can also mix the garlic butter glaze up to 3 days ahead and store it separately. When you’re ready to serve, just brush on the garlic butter mixture and bake as directed—this will ensure your cheese bombs are just as delicious as if they were made fresh!
Pillsbury Biscuit Garlic Butter Cheese Bombs Recipe FAQs
What type of biscuit dough should I use for these cheese bombs?
You can use any refrigerated biscuit dough, but I often recommend Pillsbury for its flaky texture and reliable results. If you’re feeling adventurous, you could also try making homemade biscuit dough.
How should I store leftover cheese bombs?
Absolutely! Store any leftovers in an airtight container in the fridge for up to 3 days. When you’re ready to enjoy them again, simply reheat in the oven at 350°F (175°C) for 10-15 minutes to restore that delicious crispiness.
Can I freeze the unbaked cheese bombs?
Yes, you can! For the best results, freeze the unbaked cheese bombs on a baking sheet until solid, then transfer them to a freezer bag. They will stay fresh for up to 2 months. When you’re ready to bake, simply pop them in the oven from the freezer and add a few extra minutes to the baking time.
What should I do if the cheese is leaking during baking?
If you experience cheese leakage, it’s likely due to not sealing the biscuit edges tightly enough. Make sure you press and pinch the seams well around the cheese before baking. Also, avoid overfilling each biscuit to help keep the cheese contained!
Can I use different cheeses in the filling?
Very much so! These Pillsbury Biscuit Garlic Butter Cheese Bombs are highly customizable. You can mix in various cheeses like gouda, pepper jack, or even cream cheese for a different flavor profile. Just keep the proportions similar to ensure they melt properly.
Are these cheese bombs safe for pets or those with allergies?
Always be cautious! While cheese is generally safe for dogs in moderation, the garlic and onion powders used in this recipe can be harmful to them. Ensure that no leftovers are given to pets. Check with your guests about any dietary restrictions or allergies before serving.
Pillsbury Biscuit Garlic Butter Cheese Bombs for Easy Snacking
Ingredients
Equipment
Method
- Preheat your oven to 375°F (190°C). Line a baking sheet with parchment paper for easy cleanup.
- In a mixing bowl, combine the shredded mozzarella and cheddar cheeses. Set aside.
- Flatten each biscuit slightly to create a pocket and place about 1 tablespoon of cheese mixture in the center.
- Fold the biscuit dough over the cheese, pinching the edges together to seal well.
- In a separate bowl, mix melted butter, garlic powder, onion powder, dried parsley, salt, and black pepper.
- Brush each biscuit ball with the garlic butter mixture generously.
- Place the biscuits on the baking sheet and bake for 15 to 20 minutes until golden brown.
- Let them cool for a few minutes before serving warm.
Leave a Reply