
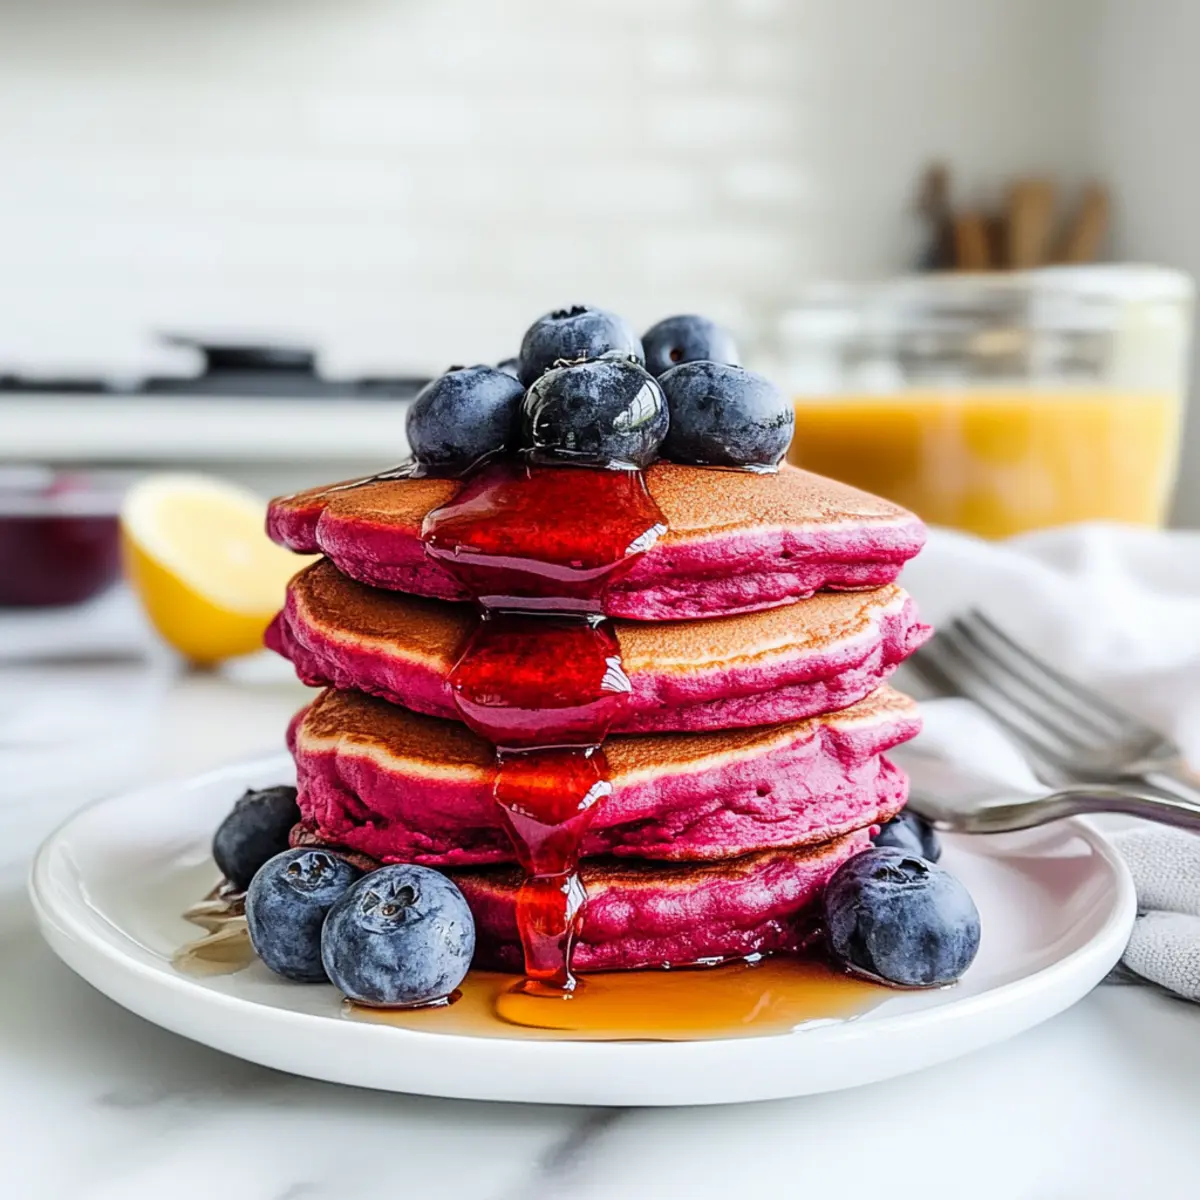
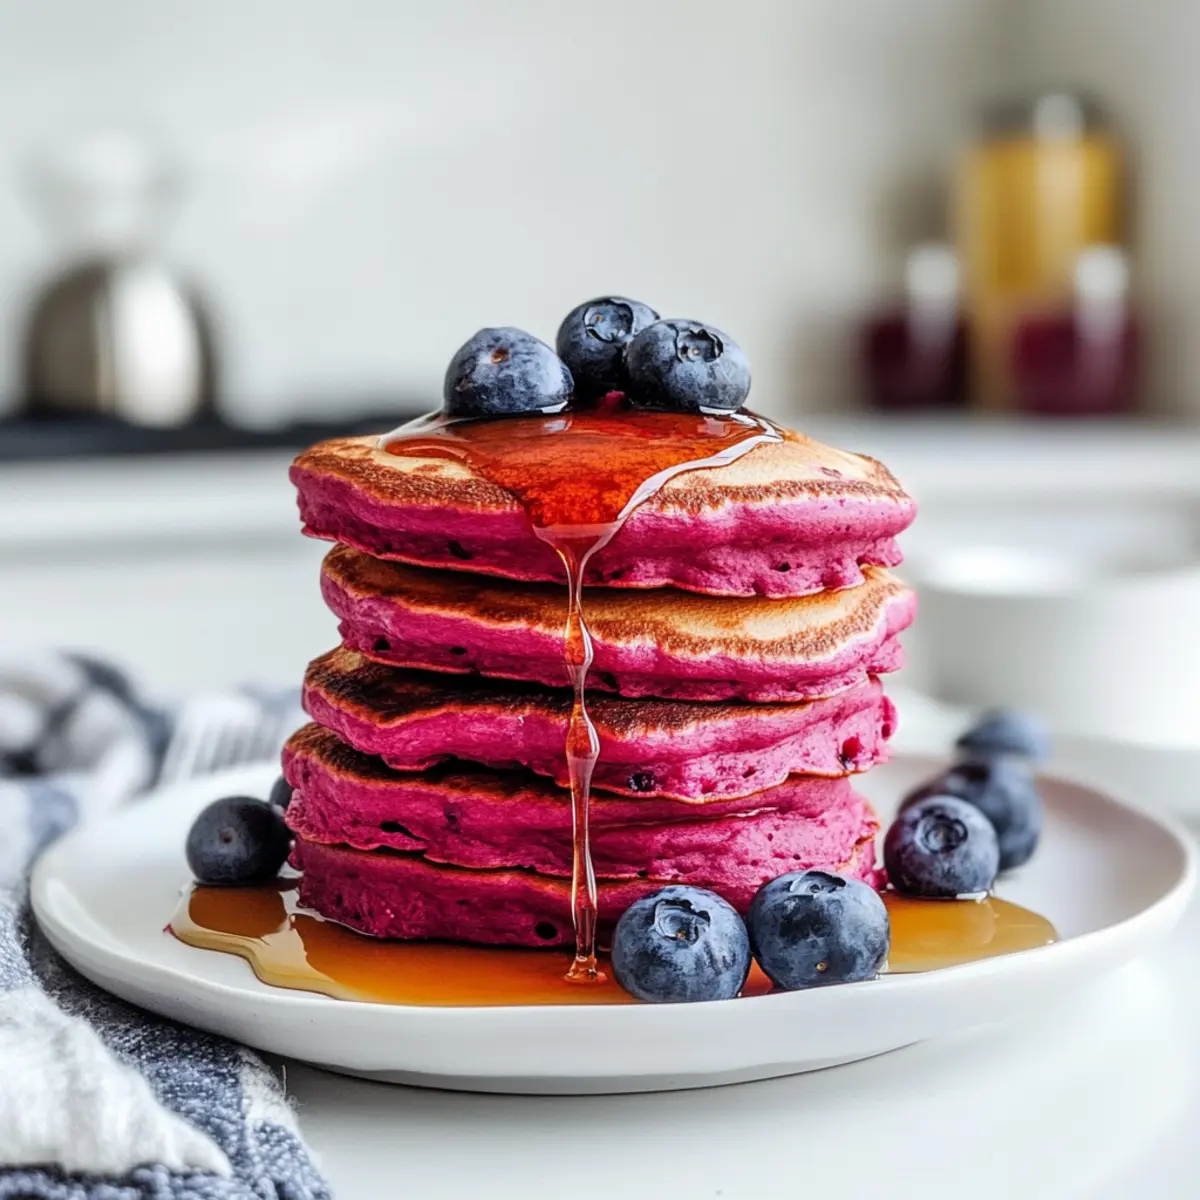
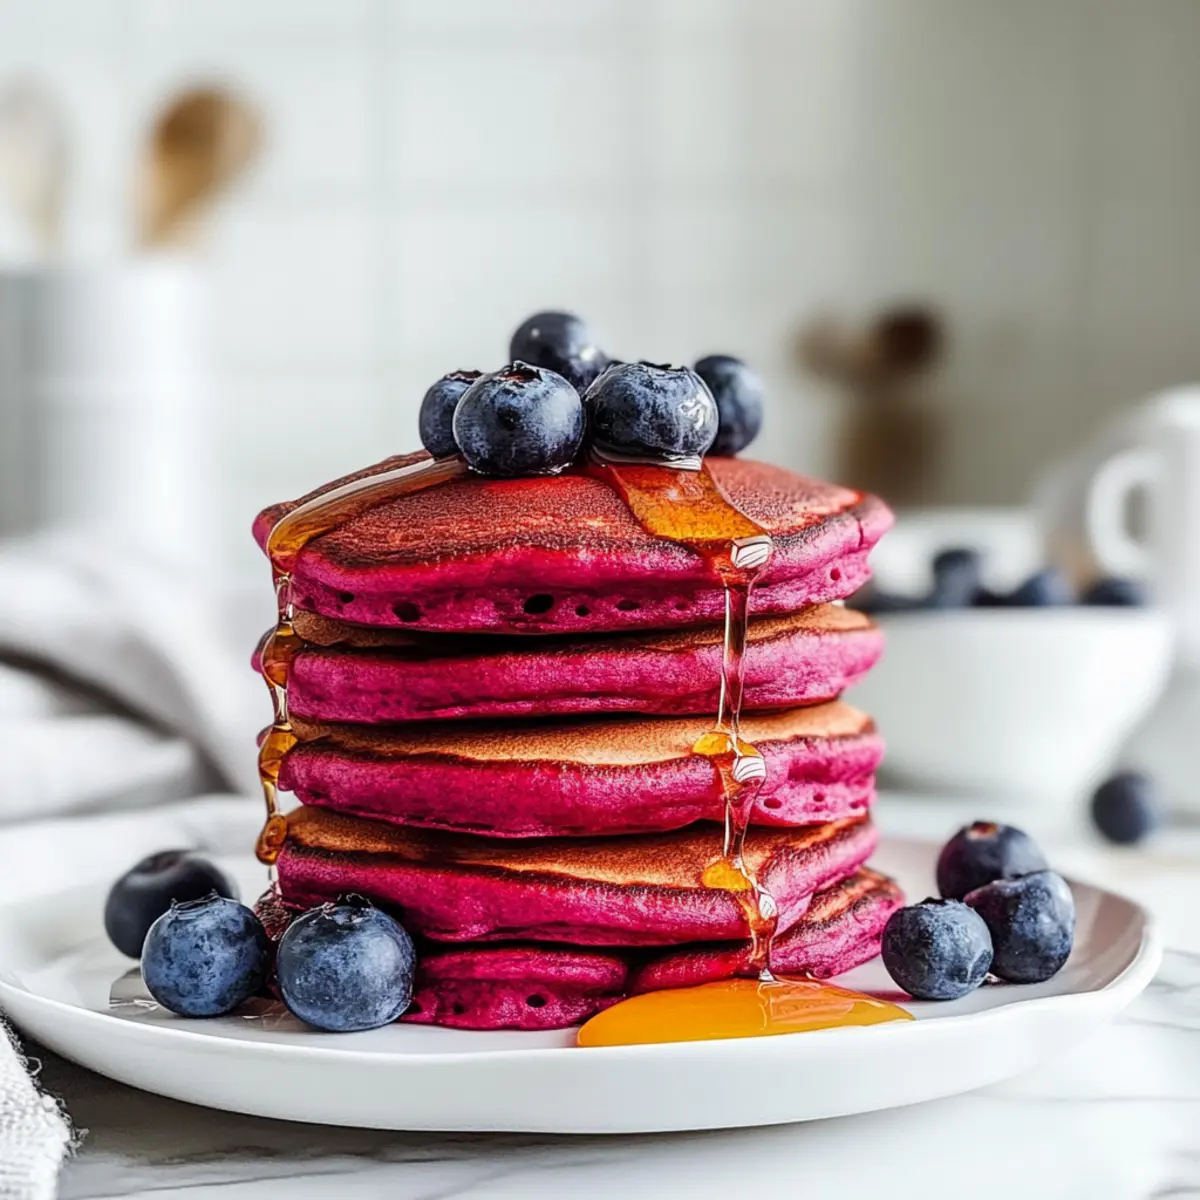
A dash of pink on your plate? Yes, please! These Nutritious Pink Beet Pancakes are not only a feast for the eyes but also a wholesome choice to kickstart your day. Packed with goodness, they blend together effortlessly in a blender and are naturally sweetened with vibrant beets and applesauce. Whether you’re looking to whip up a quick breakfast or impress the kids with something colorful, these pancakes are your go-to solution. They’re gluten-free and a delightful way to sneak in some extra nutrients, making them a guilt-free indulgence for busy mornings. Ready to transform your breakfast routine? Let’s dive into the delicious world of Pink Beet Pancakes together!
Why Choose Pink Beet Pancakes?
Colorful, Fun Breakfast: Kids will be thrilled to see these vibrant pancakes on their plates, making breakfast exciting.
Quick & Easy Prep: With just a blender, you can whip up this nutritious meal in no time!
Naturally Sweetened: Sweetened with beets and applesauce, these pancakes satisfy sugar cravings without added sugars.
Healthy & Nutritious: Packed with vitamins and minerals, they sneak in healthy ingredients effortlessly.
Versatile & Adaptable: Customize your pancakes with add-ins like chocolate chips or nuts, or enjoy them with fresh fruit for an extra boost.
Gluten-Free Delight: Perfect for those avoiding gluten, ensuring everyone can enjoy a delicious breakfast!
Pink Beet Pancakes Ingredients
For the Batter
• Rolled Oats – Provides structure and acts as the primary flour; use certified gluten-free oats for a gluten-free dish.
• Baking Powder – A leavening agent that helps the pancakes rise, creating a fluffy texture.
• Fine Salt – Enhances flavor and balances the natural sweetness of the beets.
• Large Eggs – Adds moisture and binding, vital for a light pancake structure.
• Plain Greek Yogurt – Contributes creaminess and moisture, plus protein; substitute with applesauce if needed.
• Pure Vanilla Extract – Imparts a lovely flavor and enhances the overall sweetness.
• Cooked Beets – The star of the show that provides vibrant color, natural sweetness, and nutrients; roasting intensifies their flavor.
• Unsweetened Applesauce – Adds moisture and natural sweetness, with the option to replace it with mashed ripe banana.
• Maple Syrup – A natural sweetener that enriches the flavor; adjust according to your sweetness preference.
• Neutral Oil – Used for cooking, preventing pancakes from sticking while adding delicious moisture.
For Serving
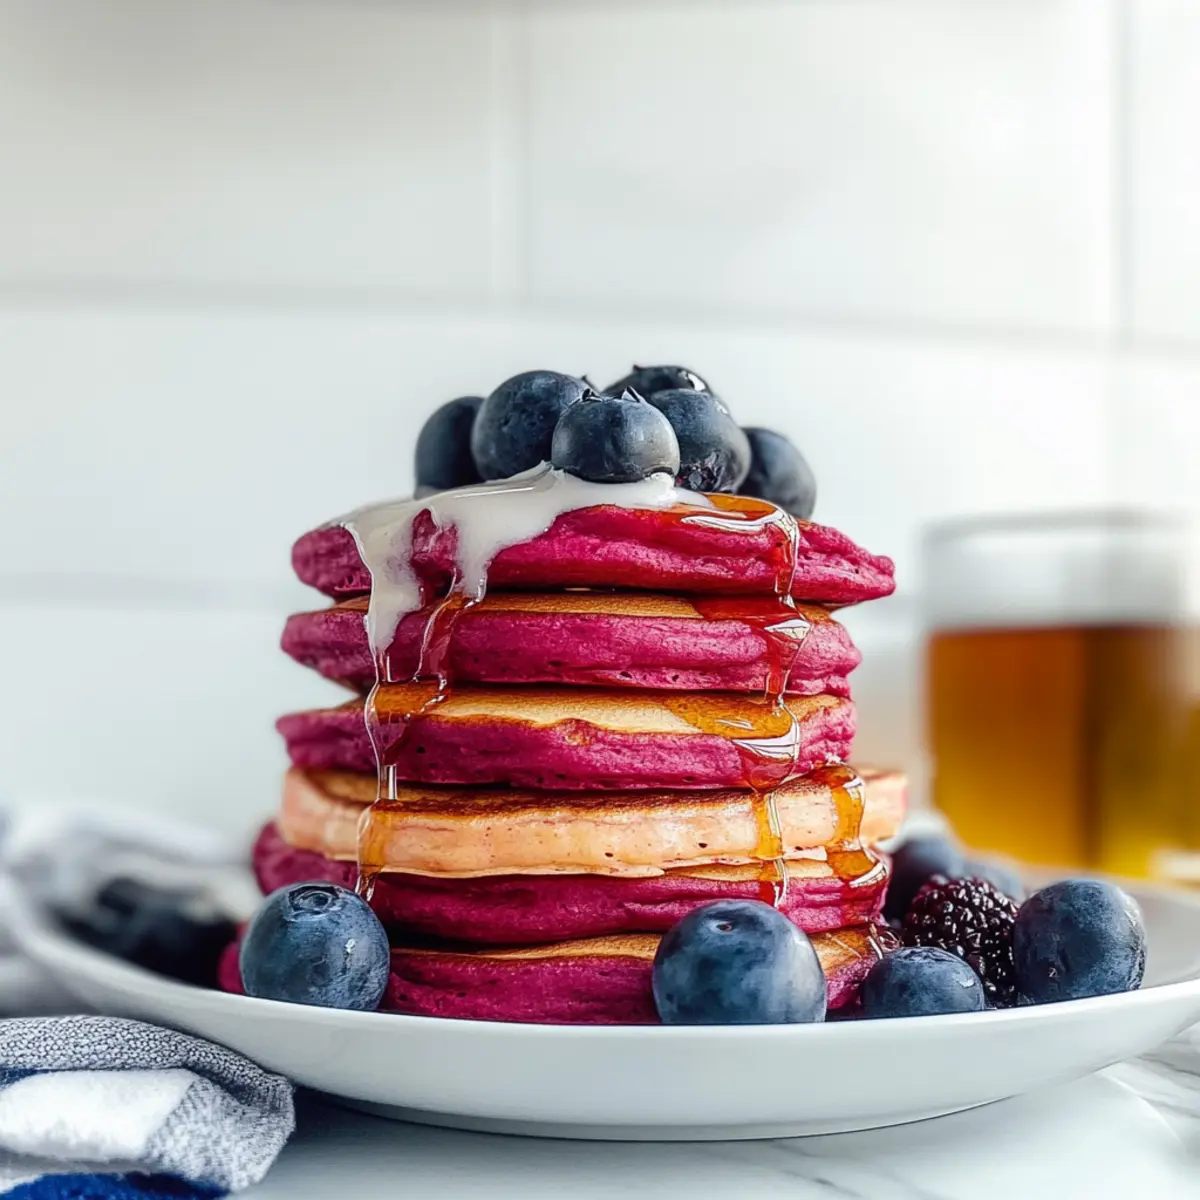
• Fresh Fruit – Serve with slices of strawberries, bananas, or blueberries for added freshness.
• Yogurt – A dollop of yogurt on top adds creaminess and pairs perfectly with the savory pancakes.
• Honey – Drizzle over pancakes for an additional burst of sweetness when desired.
Enjoy creating these delightful Pink Beet Pancakes that not only appeal to your taste buds but are also a visual treat!
Step‑by‑Step Instructions for Pink Beet Pancakes
Step 1: Prepare Oat Flour
Start by placing rolled oats, baking powder, and fine salt in a blender. Blend on high until the oats are finely ground into a flour-like consistency, about 30 seconds. Transfer the oat flour mixture into a large mixing bowl and set it aside, ensuring you have a smooth base for your Pink Beet Pancakes.
Step 2: Blend Wet Ingredients
In the same blender, combine the cooked beets, large eggs, neutral oil, plain Greek yogurt, pure vanilla extract, unsweetened applesauce, and maple syrup. Blend until you achieve a smooth and creamy consistency, approximately 1-2 minutes. This vibrant mixture adds sweetness and moisture to your Pink Beet Pancakes and brings together all the flavors.
Step 3: Combine Mixtures
Pour the blended beet mixture into the bowl containing the oat flour mixture. Gently stir until just combined, using a spatula to fold the ingredients together. The batter should be thick and cohesive, perfect for fluffy Pink Beet Pancakes. Avoid overmixing to keep the pancakes light and airy.
Step 4: Cook Pancakes
Heat a non-stick skillet or griddle over medium-low heat and add a drizzle of neutral oil to prevent sticking. Once the skillet is hot, spoon dollops of batter to form small pancakes, roughly 3-4 inches in diameter. Cook for 2-3 minutes until bubbles form on the surface and the edges begin to dry, then flip and cook for an additional 2-3 minutes until golden brown.
Step 5: Serve
When the Pink Beet Pancakes are cooked through, remove them from the skillet and place them on a warm plate. Serve immediately with your favorite toppings such as fresh fruit, a dollop of yogurt, or a drizzle of honey for extra sweetness. Leftovers can be stored in an airtight container in the fridge for 4-5 days or frozen for future breakfasts.
Make Ahead Options
These Nutritious Pink Beet Pancakes are perfect for busy mornings when you need to save time! You can prepare the batter up to 24 hours in advance and store it in the refrigerator. Just remember to give the batter a good stir before cooking, as it may thicken slightly. Additionally, you can cook the pancakes ahead of time and refrigerate them for up to 3 days or freeze for longer storage. To reheat, simply warm them in a toaster or skillet until heated through—this keeps them just as fluffy and delicious! This meal prep method ensures you have a healthy breakfast ready to go, turning chaotic mornings into delightful, stress-free experiences.
Expert Tips for Pink Beet Pancakes
• Use Fresh Beets: Opt for fresh, vibrant beets rather than canned ones for the best flavor and nutrition. Roasted beets enhance sweetness too!
• Avoid Overmixing: Gently combine the batter; overmixing can lead to dense pancakes. You want them fluffy and light!
• Right Cooking Temperature: Keep the heat on medium-low. This ensures even cooking without burning the pancakes, giving them a delightful texture.
• Perfect Sizing: Use a ¼ cup measuring cup to portion out your batter for uniform pancake sizes, ensuring perfectly cooked pancakes every time.
• Store Carefully: Keep leftover pancakes in an airtight container or freeze them between layers of parchment paper to maintain freshness. Enjoy them anytime!
What to Serve with Pink Beet Pancakes?
There’s so much more you can enjoy alongside these vibrant pancakes to create a well-rounded breakfast experience.
- Fresh Fruit: Slices of strawberries, bananas, or blueberries add a burst of freshness and sweetness, perfectly pairing with the pancakes.
- Creamy Greek Yogurt: A dollop on top offers a rich, tangy contrast that balances the sweetness of the beets—plus, it adds protein!
- Honey Drizzle: A light drizzle enhances the natural sweetness, allowing for a touch of indulgence. Your family will love the extra flavor!
- Nutty Granola: Sprinkle this crunchy topping for added texture and flavor, harmonizing deliciously with the fluffy pancakes. It’s a delightful crunch!
- Herbal Tea: A warm cup of chamomile or mint tea provides a comforting, soothing experience that complements the meal beautifully.
- Maple Syrup Variation: Upgrade your typical maple syrup by infusing it with vanilla or cinnamon for a unique twist that elevates every bite!
Enjoy your colorful breakfast journey with these delicious options, bringing out the best in your Pink Beet Pancakes!
How to Store and Freeze Pink Beet Pancakes
Fridge: Store leftover Pink Beet Pancakes in an airtight container for up to 4-5 days. This helps keep them soft and fresh for your next breakfast craving.
Freezer: For longer storage, freeze pancakes in a single layer separated by parchment paper. They can be stored for up to 2 months, making future breakfasts a breeze!
Reheating: To reheat, use a toaster or warm them in the microwave for about 30 seconds. For a crispier texture, heat them on a skillet over low heat for 1-2 minutes on each side.
Batter Storage: If you have leftover batter, store it in the fridge for up to 1 day. However, it may oxidize slightly, affecting color but not the flavor.
Pink Beet Pancakes Variations
Feel free to let your creativity shine by customizing these delightful pancakes for your taste buds!
- Gluten-Free: Use certified gluten-free oats for a flawless pancake that suits gluten sensitivities.
- Dairy-Free: Replace yogurt with coconut yogurt or omit it entirely; your pancakes will still be delicious and moist.
- Sweetness Change: Swap maple syrup for honey or agave syrup to explore different flavor profiles, each with its own charm.
- Nutty Texture: Add ¼ cup of chopped nuts or chocolate chips to the batter, creating a delightful crunch and an indulgent treat.
- Add Superfoods: Stir in chia seeds or ground flax for an Omega-3 boost, making these pancakes even more nutritious.
- Mix It Up: Fold in some spinach or kale for a green twist; you won’t even taste it, but the color will be visually stunning!
- Spice It Up: For a flavor kick, include cinnamon or nutmeg, enhancing the pancakes with warm, aromatic notes that will delight your senses.
- Fruity Flavors: Fold in diced fresh strawberries or blueberries into the batter for a refreshing burst of fruity flavor in each bite.
Want even more inspiration? Consider serving these pancakes alongside a dollop of yogurt or a drizzle from your favorite honey source. You’ll create a colorful and nutritious breakfast experience everyone will adore!
Pink Beet Pancakes Recipe FAQs
How do I choose the right beets for my pancakes?
Absolutely! When selecting beets, look for firm, smooth ones without dark spots or soft areas. They should have vibrant color; fresh beets yield a sweeter flavor. If you’re unsure, opt for medium-sized beets, as they are typically more tender and flavorful.
How should I store leftover Pink Beet Pancakes?
Very! Leftover Pink Beet Pancakes can be stored in an airtight container in the refrigerator for up to 4-5 days. This will keep them soft and ready for a quick breakfast or snack. Just warm them up in the microwave or toaster when you’re ready to enjoy!
Can I freeze Pink Beet Pancakes?
Absolutely! To freeze your pancakes, separate each one with parchment paper and lay them flat in a single layer on a baking sheet. Freeze until solid, then transfer them to a freezer-safe bag. They can be stored this way for up to 2 months. When you’re ready to eat, simply reheat them in the toaster or on a skillet for a quick breakfast!
What should I do if my pancake batter is too thick?
If your batter seems too thick, don’t worry! Add a tablespoon of milk (dairy or non-dairy) at a time until it reaches your desired consistency. Remember, a thicker batter will yield fluffier pancakes, but you want it pourable enough to spread easily on the skillet.
Are Pink Beet Pancakes safe for kids and those with allergies?
Very! These pancakes are naturally gluten-free when using certified gluten-free oats, making them safe for kids and adults with gluten sensitivities. However, for those with allergies, ensure to check your ingredient labels, especially for the yogurt and any added toppings. If there’s a dairy allergy, consider using a dairy-free yogurt alternative.
How long will the pancake batter last in the fridge?
The batter can be stored in the refrigerator for up to 1 day. Keep in mind that it may oxidize slightly, which could change its color but won’t affect the taste. If you’re using it the next day, give it a quick stir before cooking to ensure even consistency.
Irresistibly Fluffy Pink Beet Pancakes That Kids Will Love
Ingredients
Equipment
Method
- Start by placing rolled oats, baking powder, and fine salt in a blender. Blend on high until the oats are finely ground into a flour-like consistency, about 30 seconds. Transfer the oat flour mixture into a large mixing bowl and set it aside.
- In the same blender, combine the cooked beets, large eggs, neutral oil, plain Greek yogurt, pure vanilla extract, unsweetened applesauce, and maple syrup. Blend until you achieve a smooth and creamy consistency, approximately 1-2 minutes.
- Pour the blended beet mixture into the bowl containing the oat flour mixture. Gently stir until just combined, using a spatula to fold the ingredients together.
- Heat a non-stick skillet or griddle over medium-low heat. Add a drizzle of neutral oil to prevent sticking. Spoon dollops of batter to form small pancakes, approximately 3-4 inches in diameter. Cook for 2-3 minutes until bubbles form on the surface and the edges begin to dry, then flip and cook for an additional 2-3 minutes until golden brown.
- Serve immediately with your favorite toppings such as fresh fruit, a dollop of yogurt, or a drizzle of honey.
Leave a Reply